Create GSA + STEAM blueprint
Learn how to create a blueprint for STEAM games.
This guide walks you through creating a blueprint for Myth of Empires. Although we use a Windows example, the same steps apply to Linux.
Intro
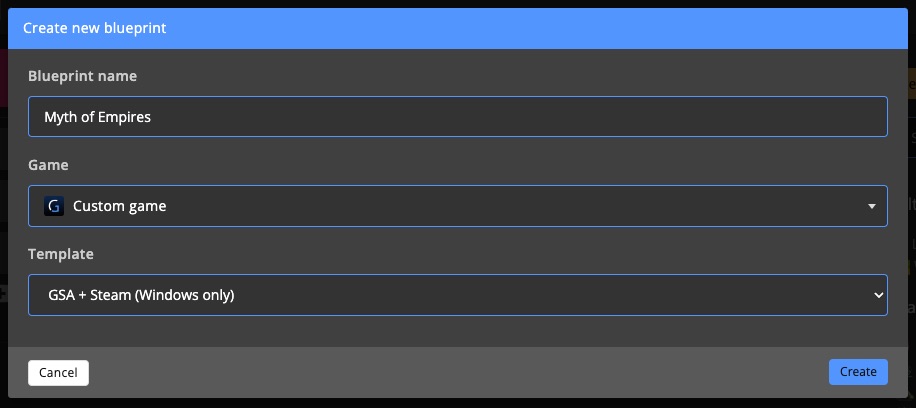
We assume you've already created a blueprint and are now on the Add version page.
GSA + Steam TemplateWe used the GSA + Steam (Windows only) blueprint template for this guide. Templates are recommended because they pre-fill most fields correctly.
1. Enter STEAM ID & Executable
Steam Client & Server ID
Fill in the STEAM Client and Server IDs in the appropriate fields (Learn how to find STEAM IDs).
For this example:
- Client ID:
1371580 - Server ID:
1794810
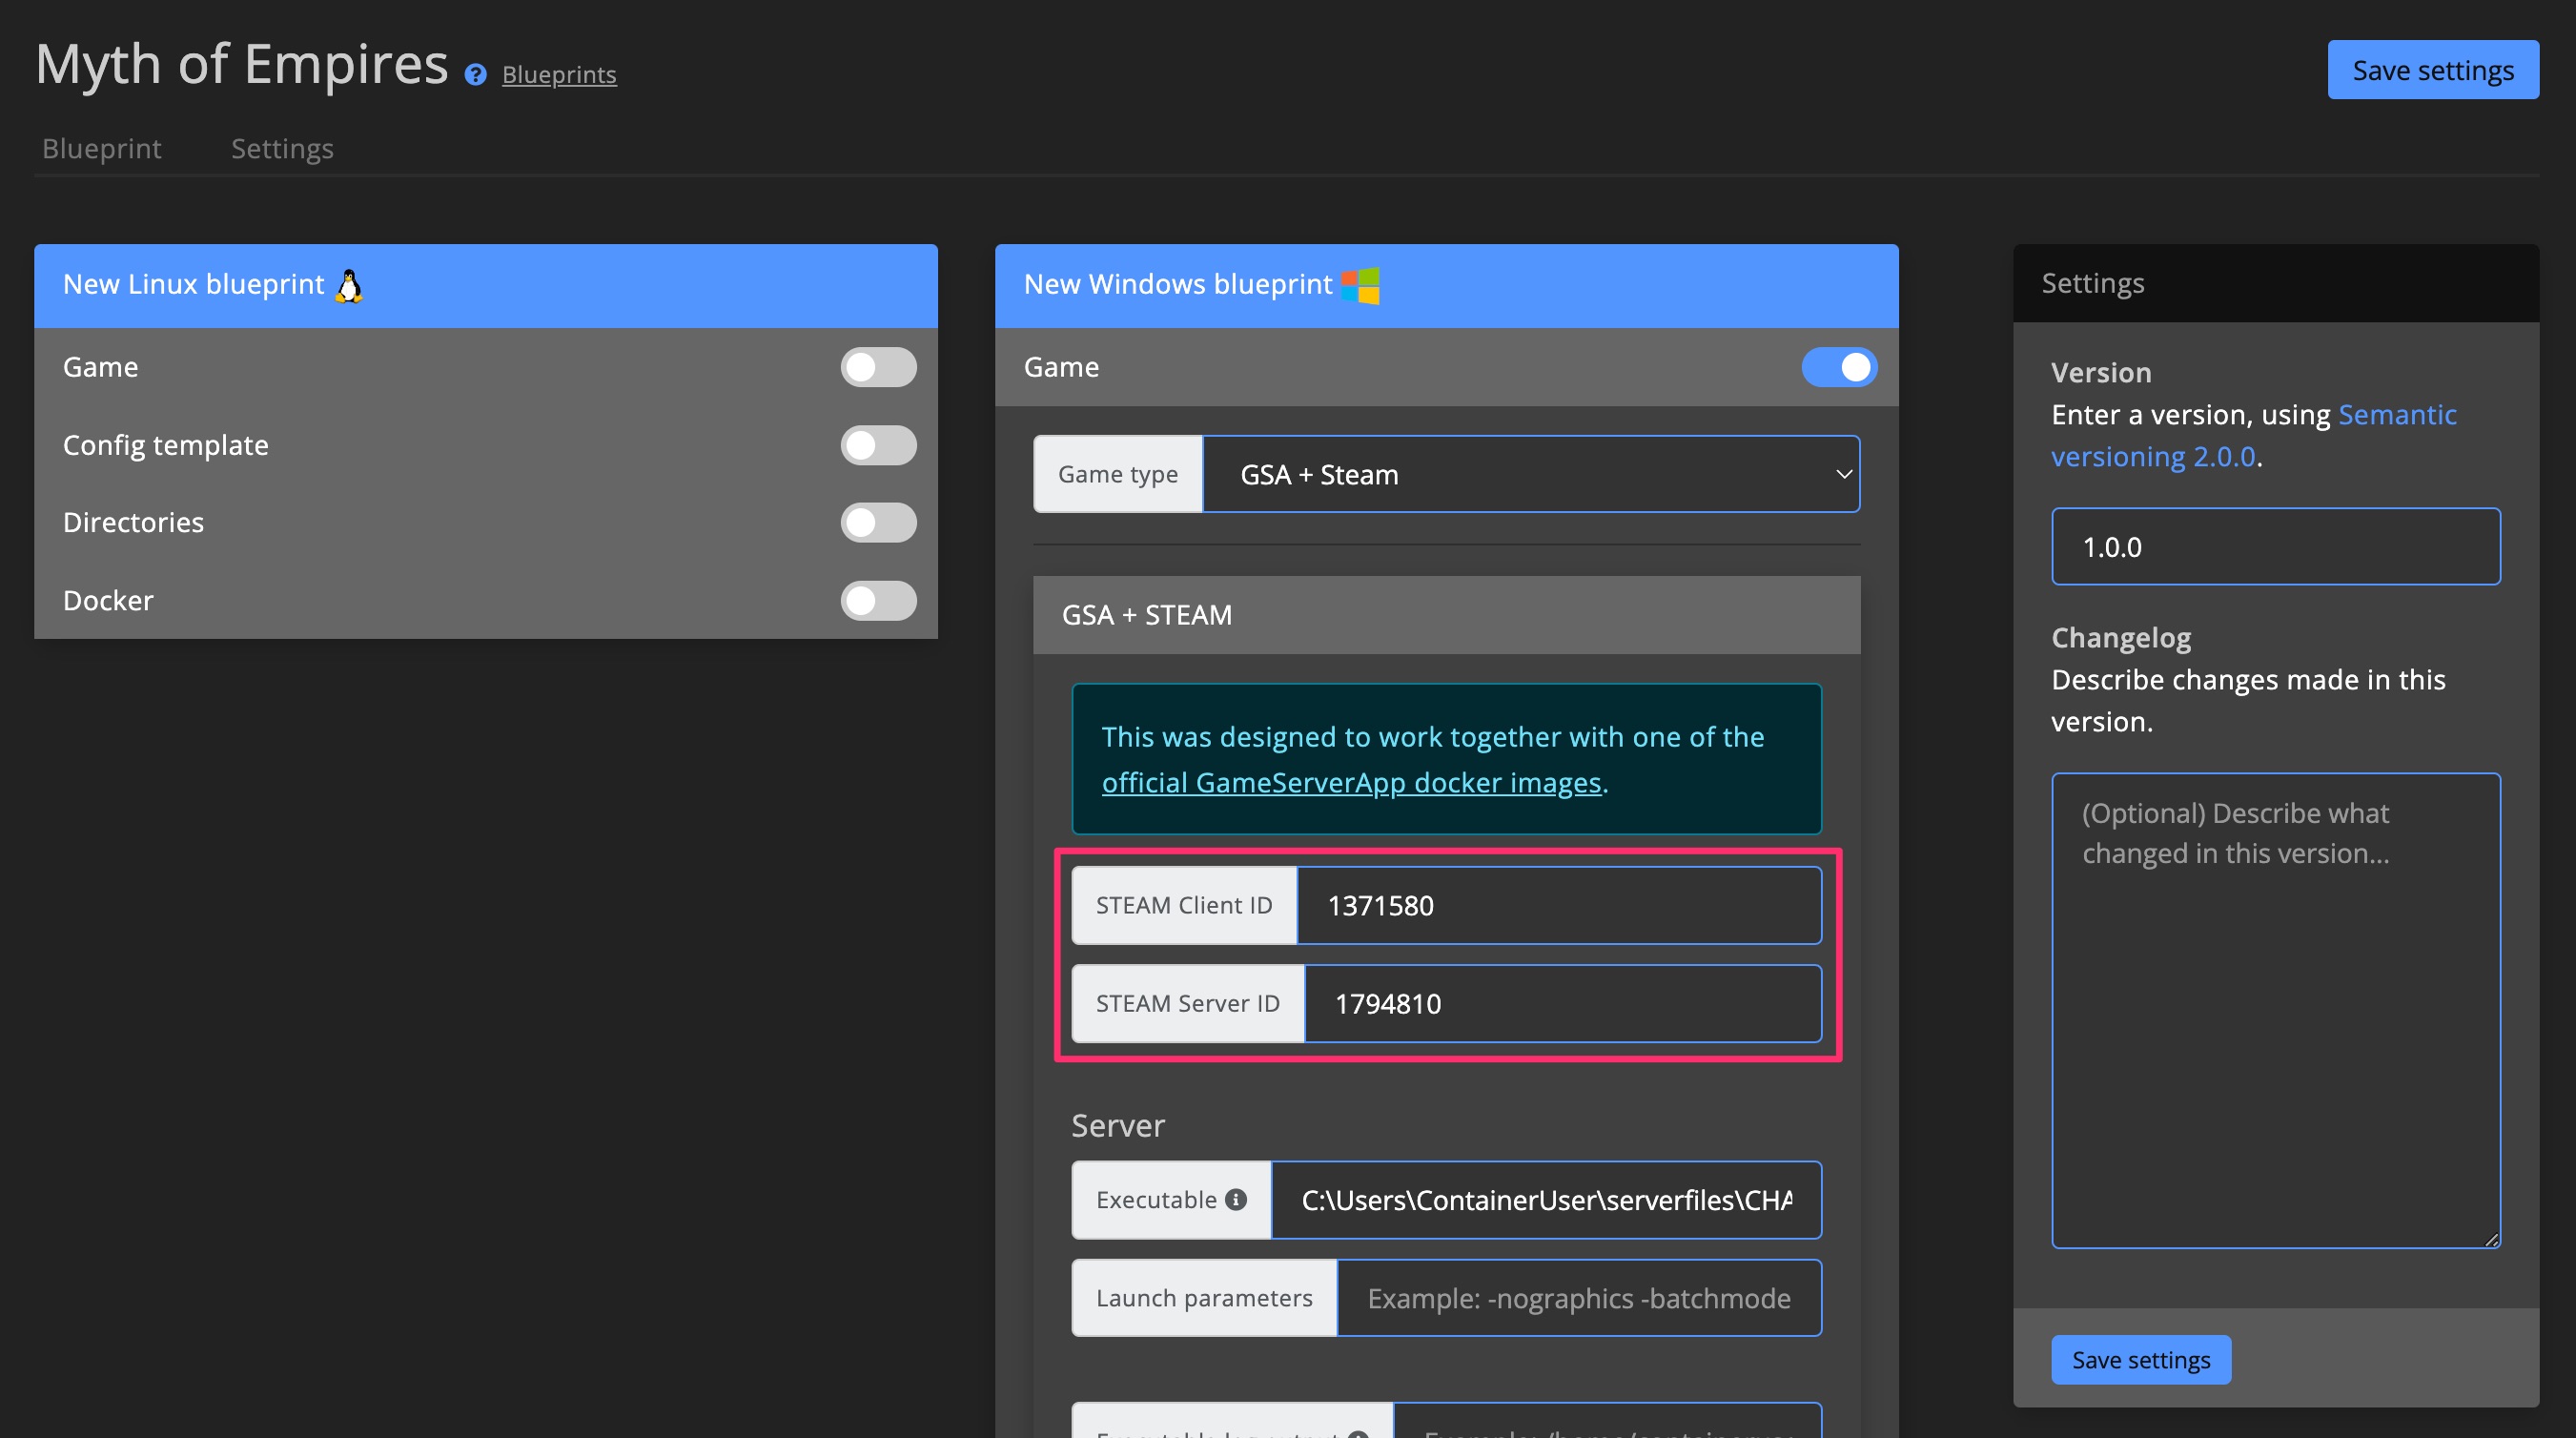
Executable Path
Enter the executable path in the Executable field, then click save (Learn how to find the executable path).
Example: C:\Users\ContainerUser\serverfiles\MOE/Binaries/Win64/MOEServer.exe

2. Launch a Fresh Server with the Blueprint
2.1 Create a New Server
Go to the Install new game server page and launch a new game server using your blueprint.
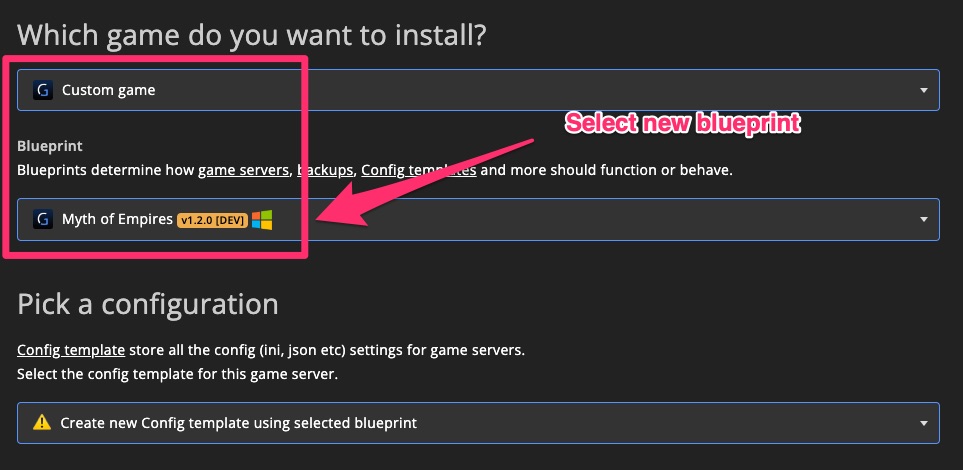
Click Install game server now and allow the installation process to complete.
Wait 2 to 5 minutes after installation to allow the game server to boot up fully before proceeding.
2.2 Test if It Starts
Let’s check if the game server starts correctly. This helps confirm that the IDs and executable path are set up properly.
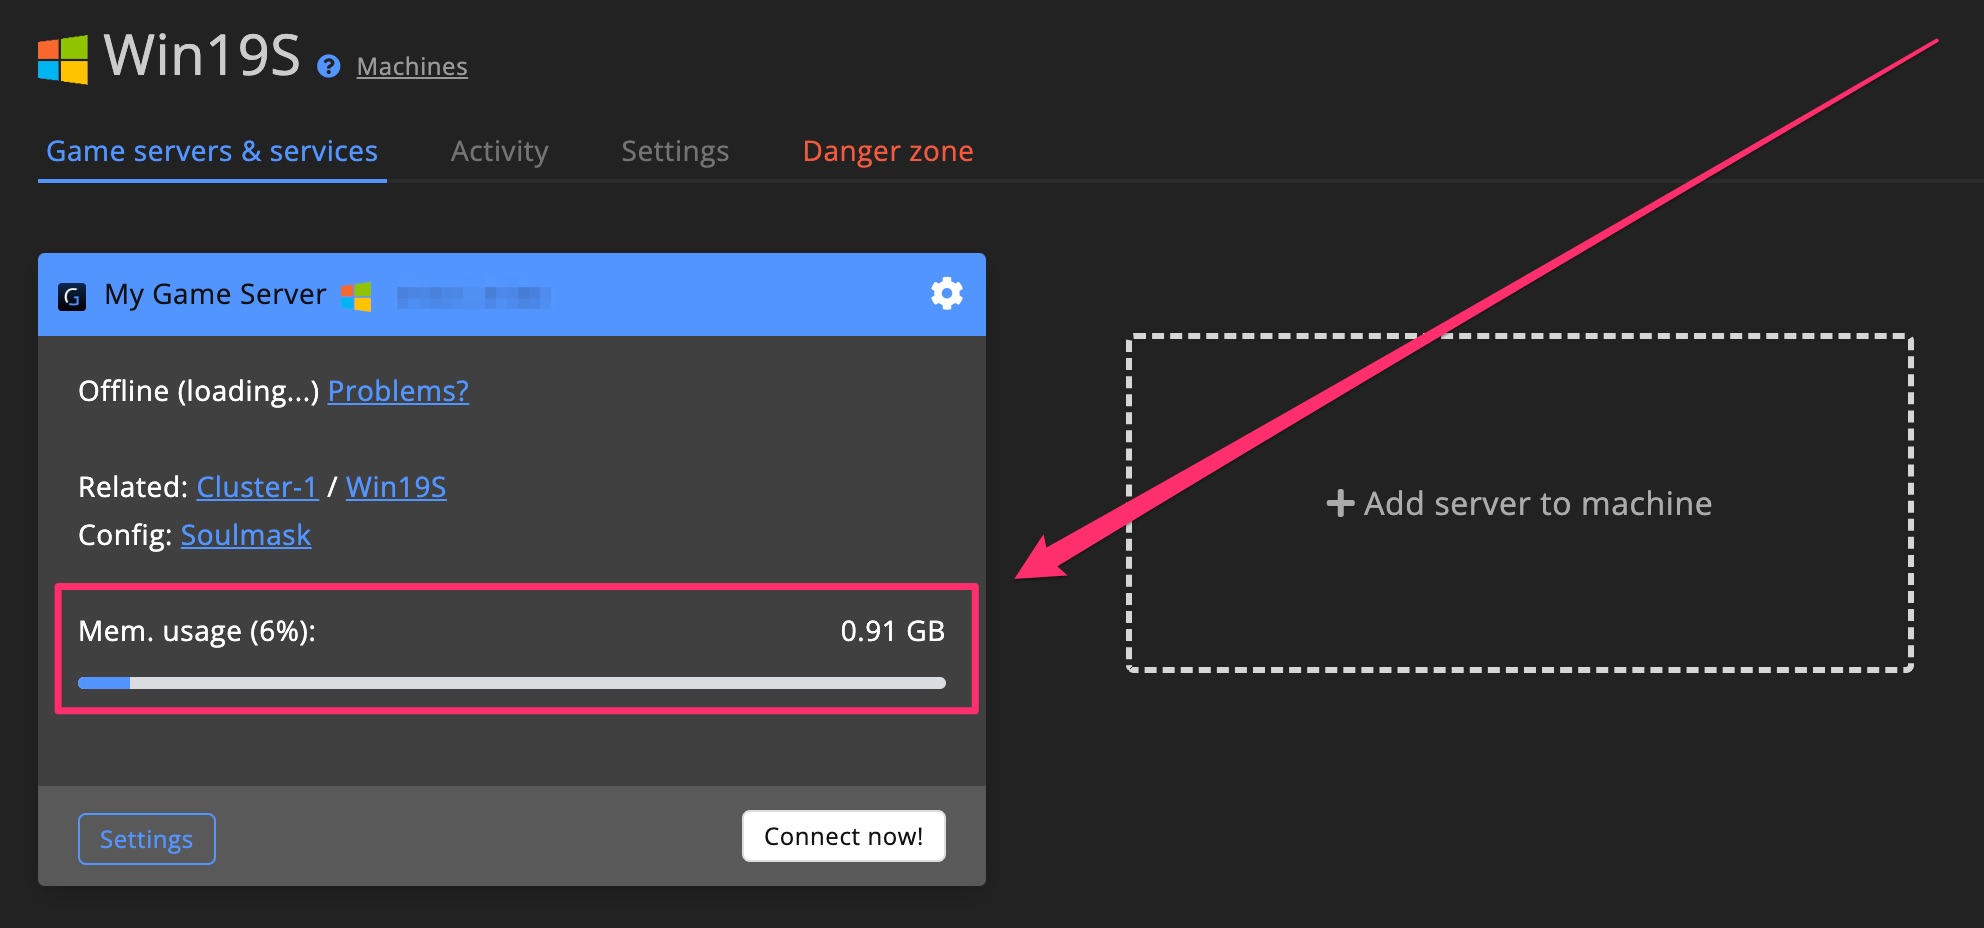
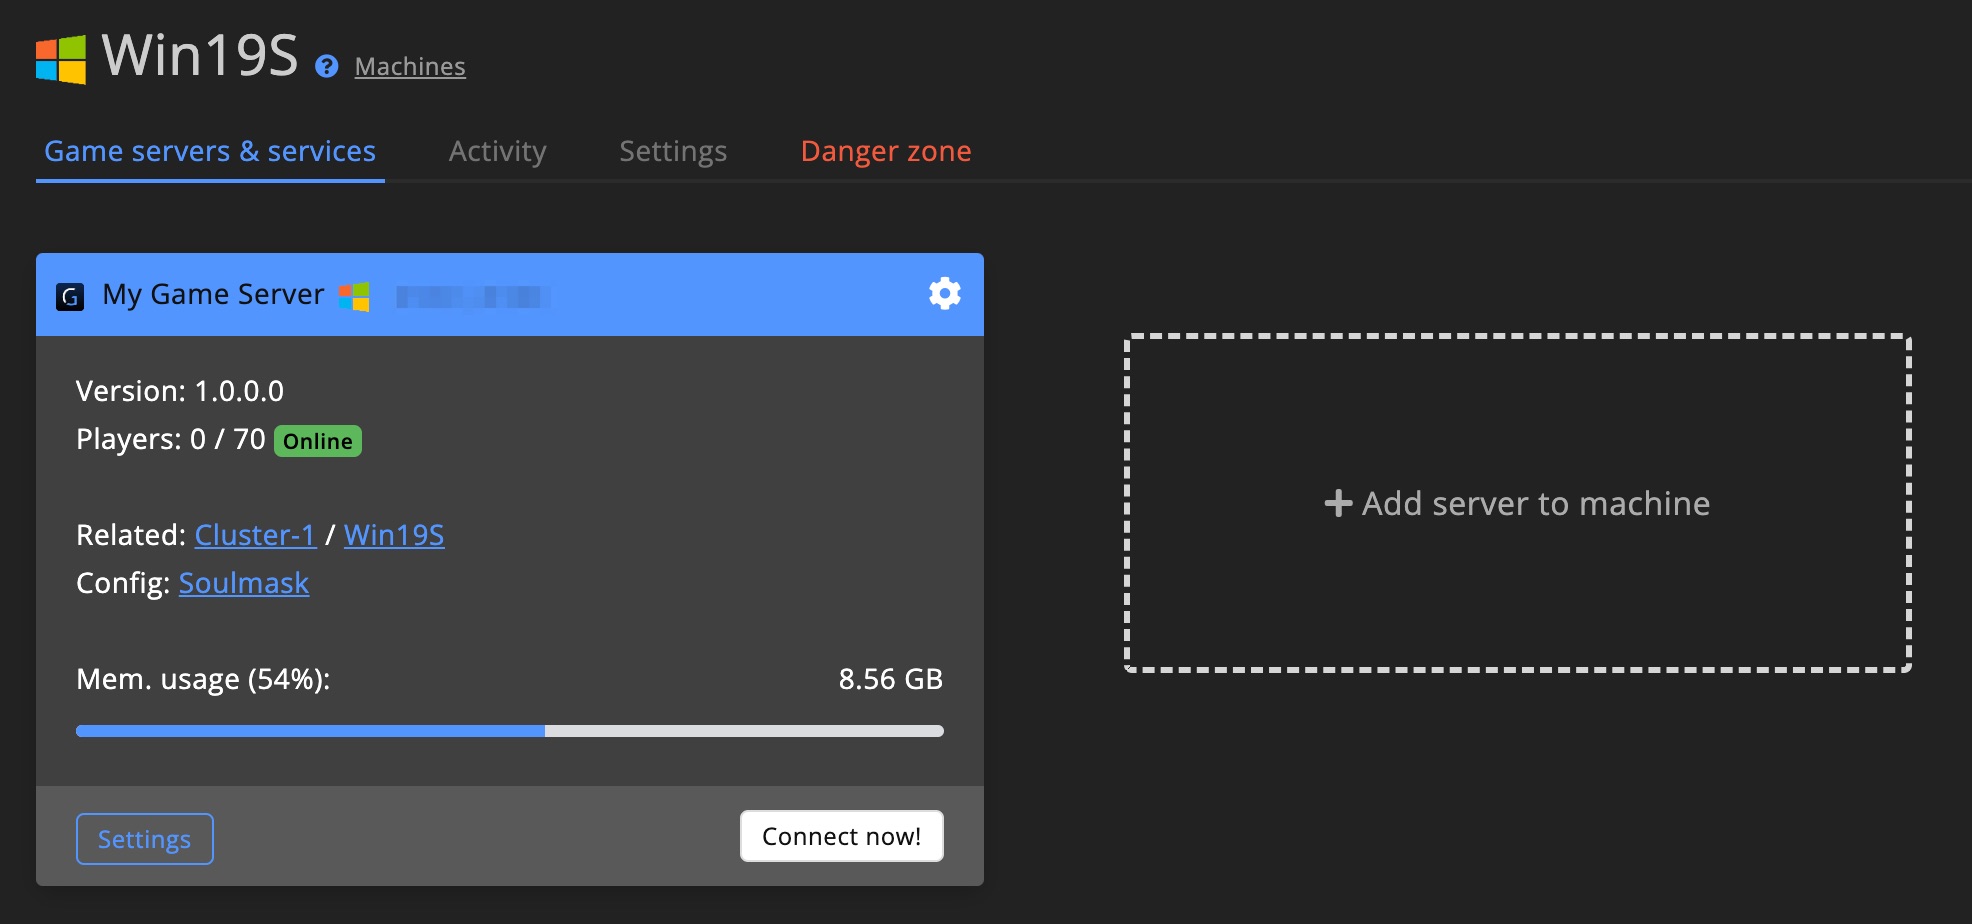
Check Memory Usage
If memory usage exceeds 0.5GB, it's a good sign the game server is running.
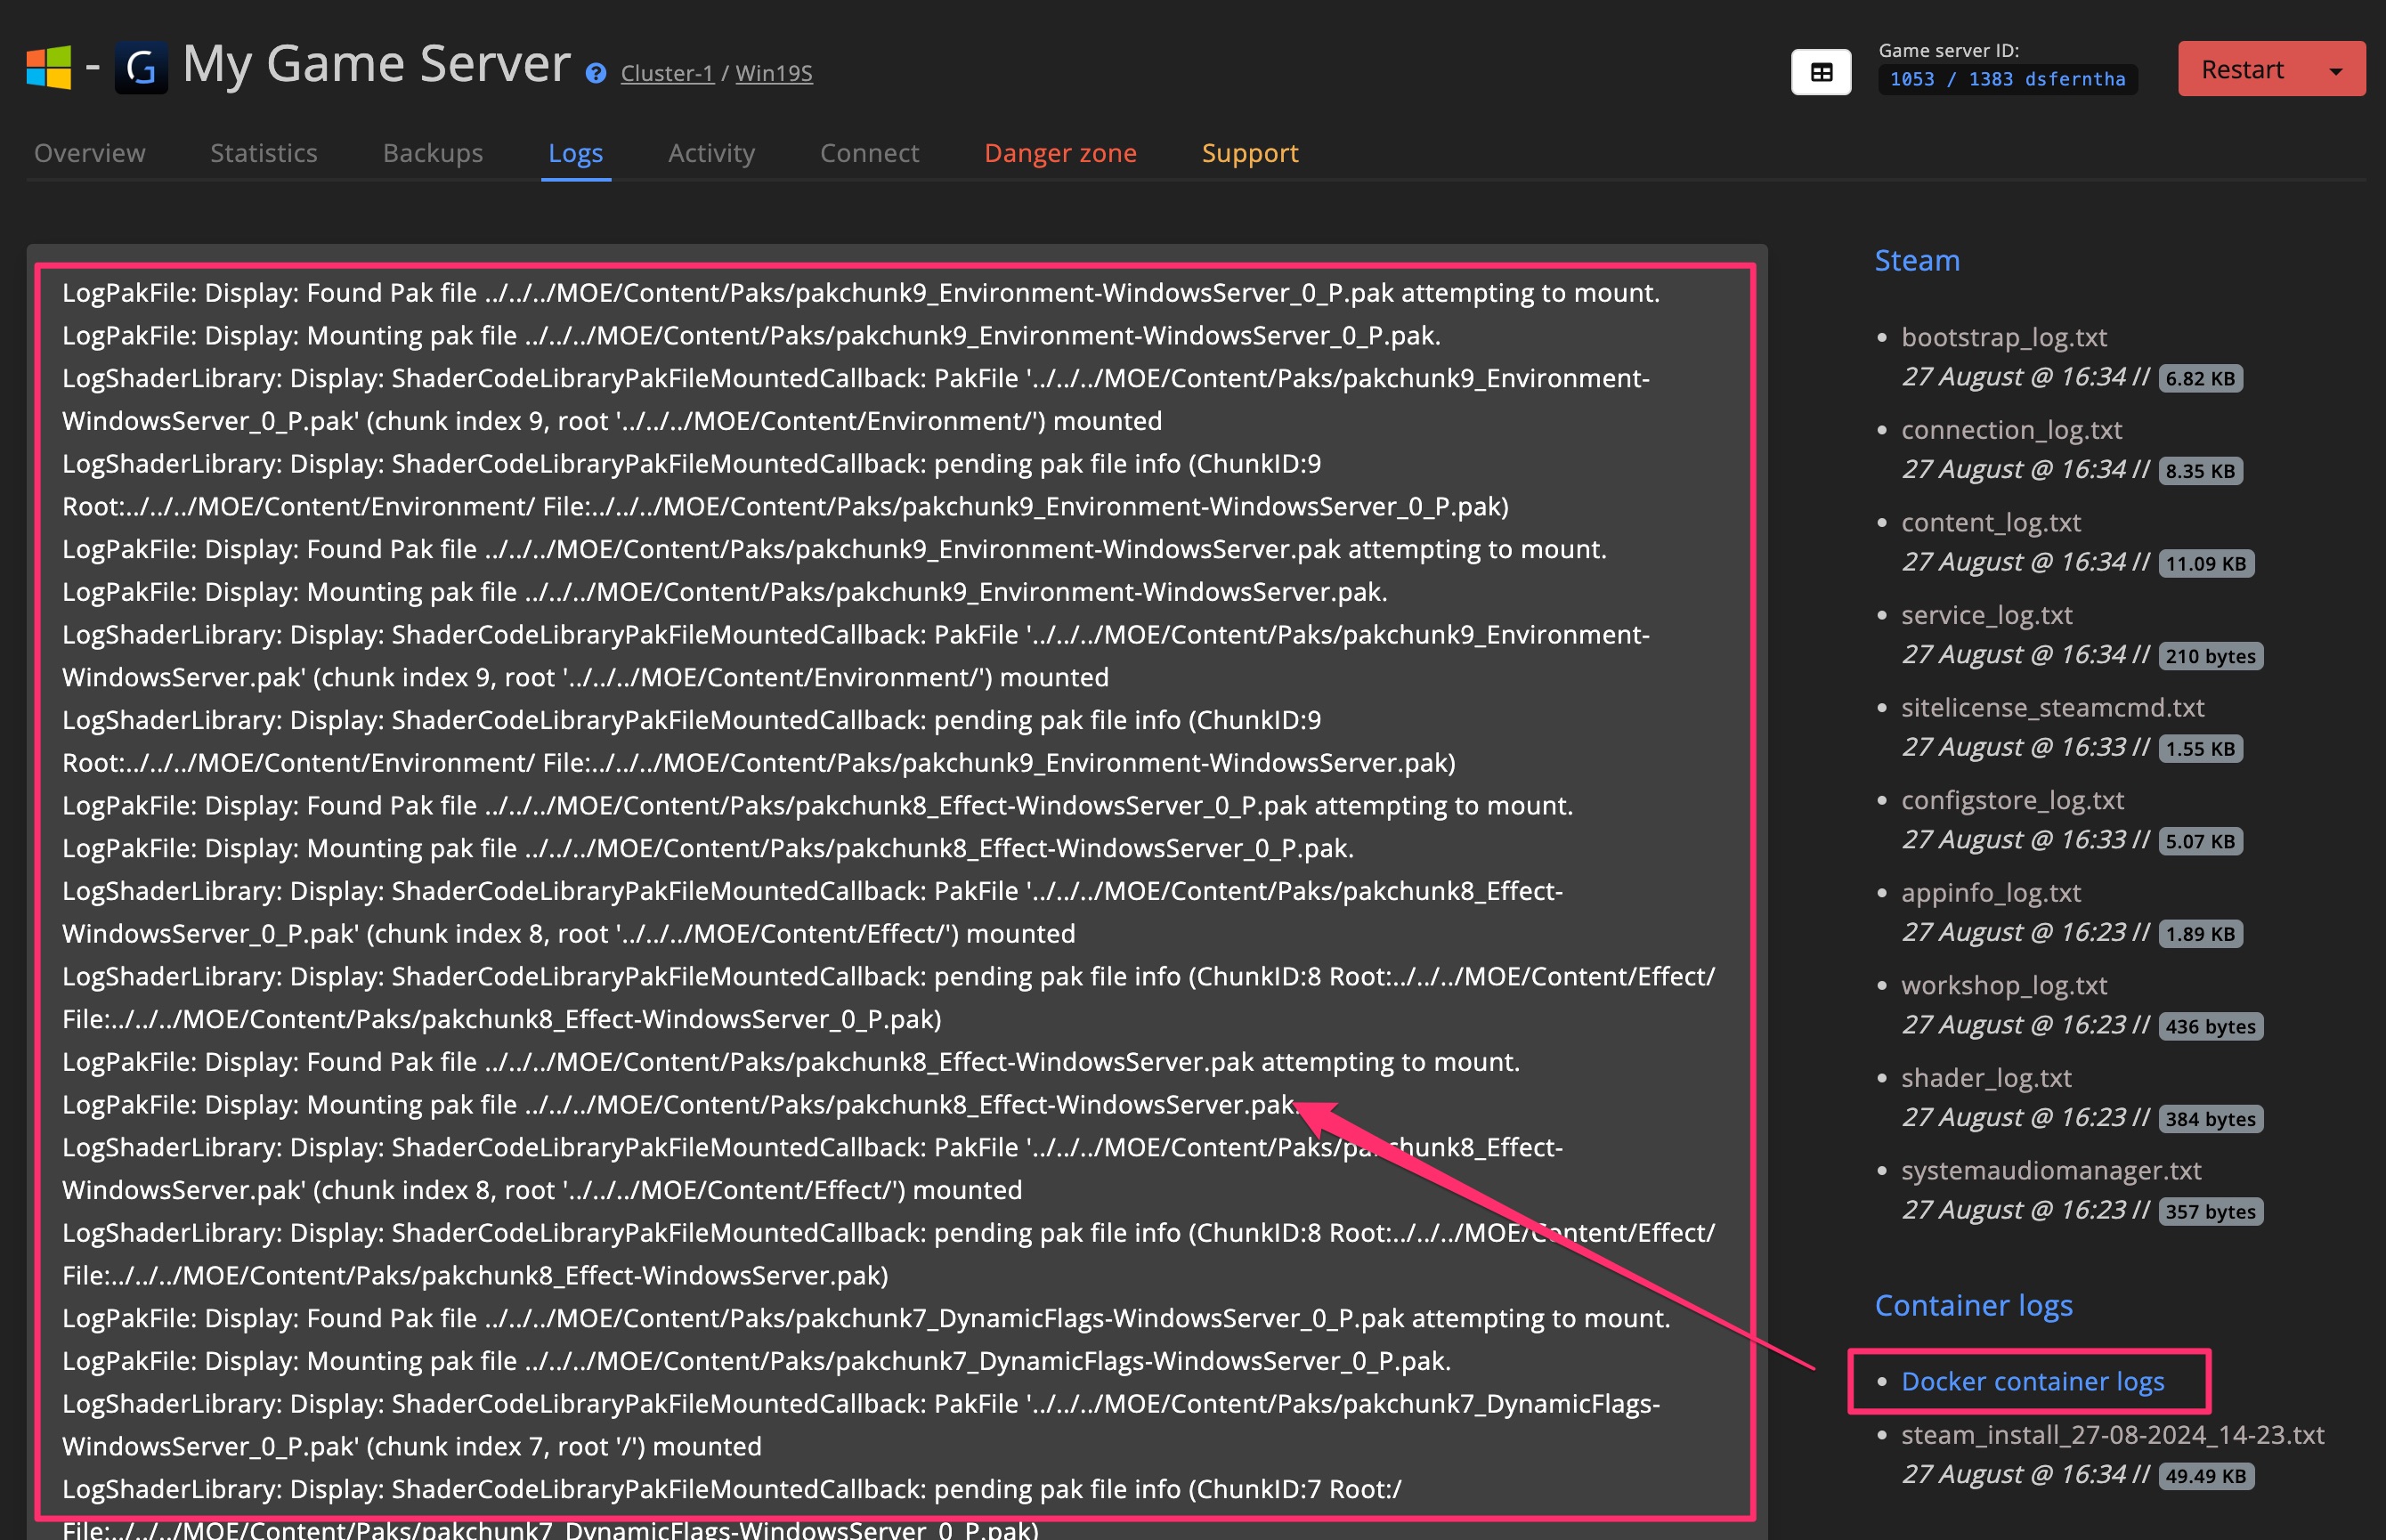
Check Docker Container Logs
Look at the Docker container logs to verify activity. If logs are present, even with some errors, they typically indicate that the server has started.
In this example, you'll see multiple lines referencing MOE (from our executable path):
4. Configure Settings
Once confirmed the server is running, configure the remaining settings. These will depend on the specific game you're hosting.
This usually involves setting up Launch parameters and/or Config files with the correct values.
Search online or check the game’s wiki for the required configuration.
4.1 Launch Parameters
If your game server supports launch parameters, use them for options like ports, server name, slot limits, or cluster ID.
We used IceWarden's guide for Myth of Empires, selecting the following parameters and replacing specific values with variables:
LargeTerrain_Central_Main -game -server -DataLocalFile -NotCheckServerSteamAuth -PrivateServer -MultiHome=0.0.0.0 -OutAddress={machine.ip}
-SessionName={gameserver.list_name} -MaxPlayers={gameserver.slot_limit} -ClusterId={cluster.id} -Port={gameserver.game_port} -QueryPort={gameserver.query_port}
GSA automatically assigns ports per game server. Always use variables to avoid port conflicts caused by hardcoded values.
Add New Blueprint Version
Create a new version, paste the parameters into the Launch parameters field, and save.

4.2 Config Files
Learn how to find and register config files using FTP access.
Test & Repeat
Activate the new version and restart the server. Allow 2–10 minutes for it to boot. Once done, check if the server is up and join the game.
5. Hooray!
If all went well, your game server should be visible and joinable.
To enable features like uptime monitoring, RCON, and backups, visit the blueprint form section.
Help
Finding Executable Path
To locate the executable path, search SteamDB for dedicated server files, click on the dedicated server, and go to the Configuration page. Look for Executable.
Make sure the executable path matches the correct OS (Linux or Windows). Since this example uses Windows, there should only be one path.
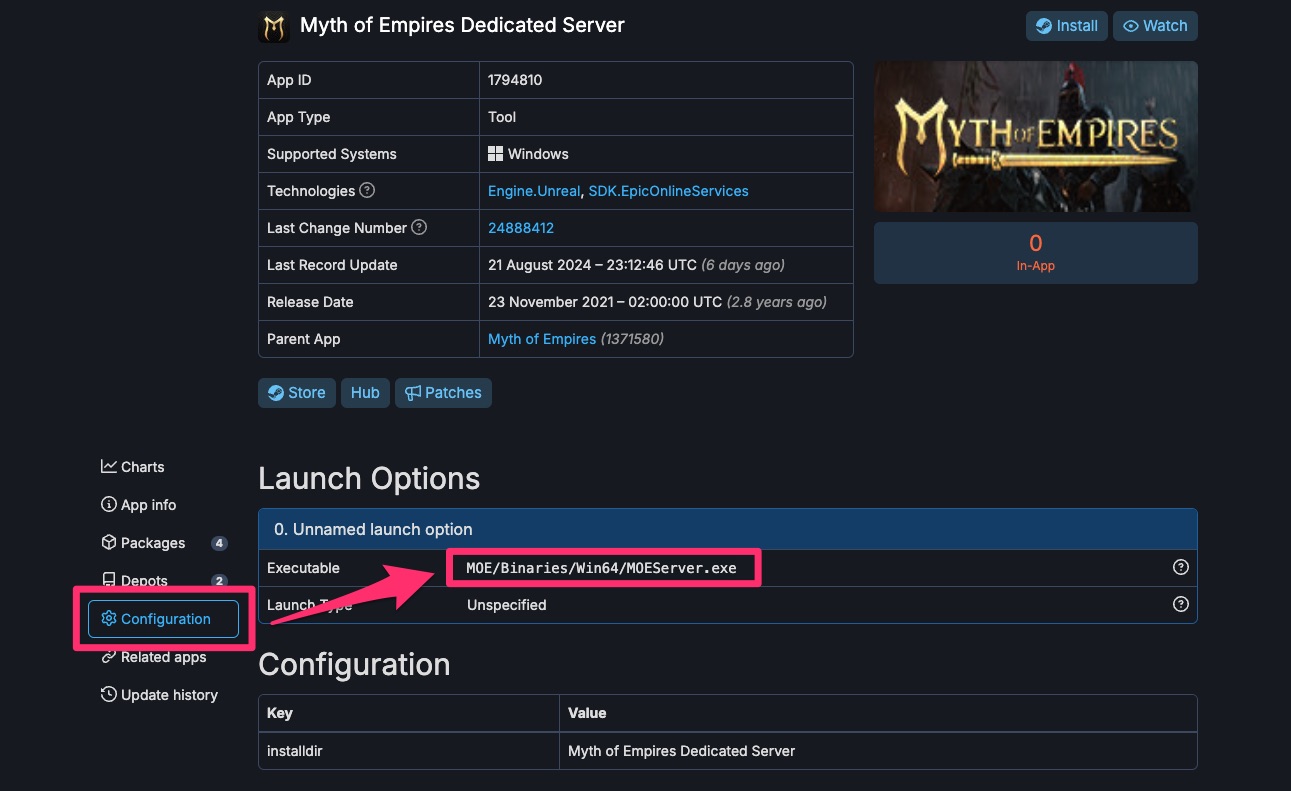
In our example, the executable is: MOE/Binaries/Win64/MOEServer.exe
The SteamDB executable path won't work as-is. You'll need to prepend the correct container path:
Windows
Use this prefix: C:\Users\ContainerUser\serverfiles\
Full path: C:\Users\ContainerUser\serverfiles\MOE/Binaries/Win64/MOEServer.exe
Linux
Use this prefix: /home/containeruser/serverfiles/
Full path: /home/containeruser/serverfiles/MOE/Binaries/Win64/MOEServer.exe