Getting started
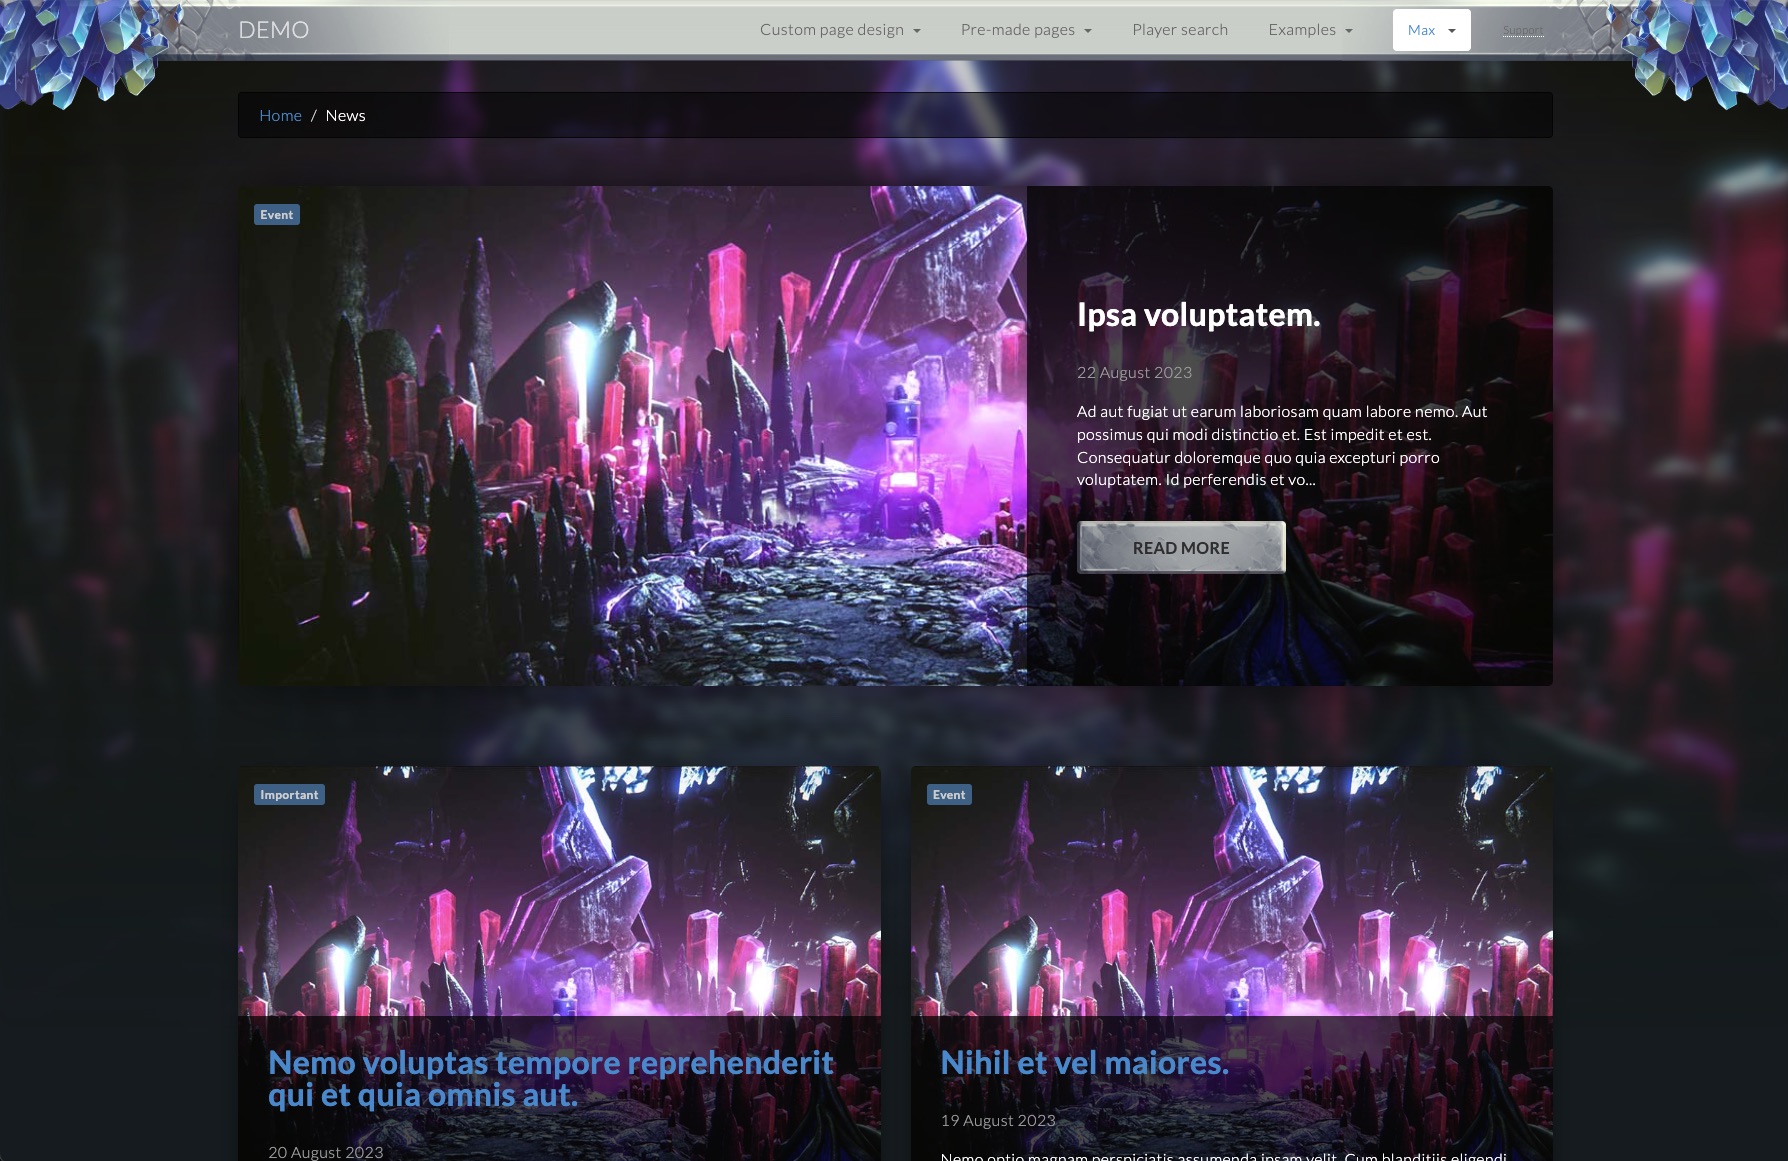
News
News articles are posted on the Community website.
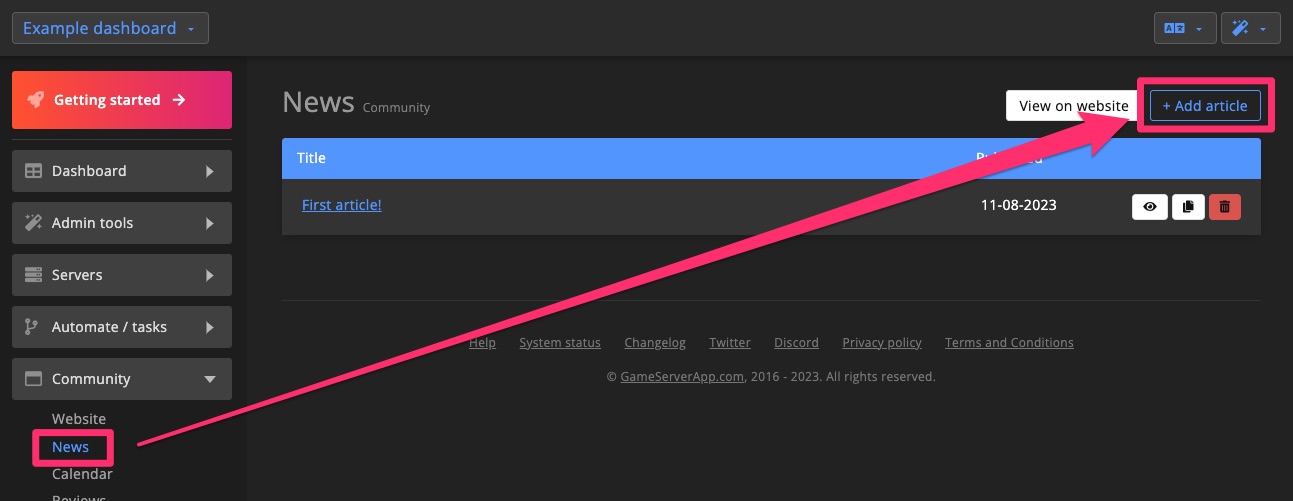
Create articles
1. Click + Add article
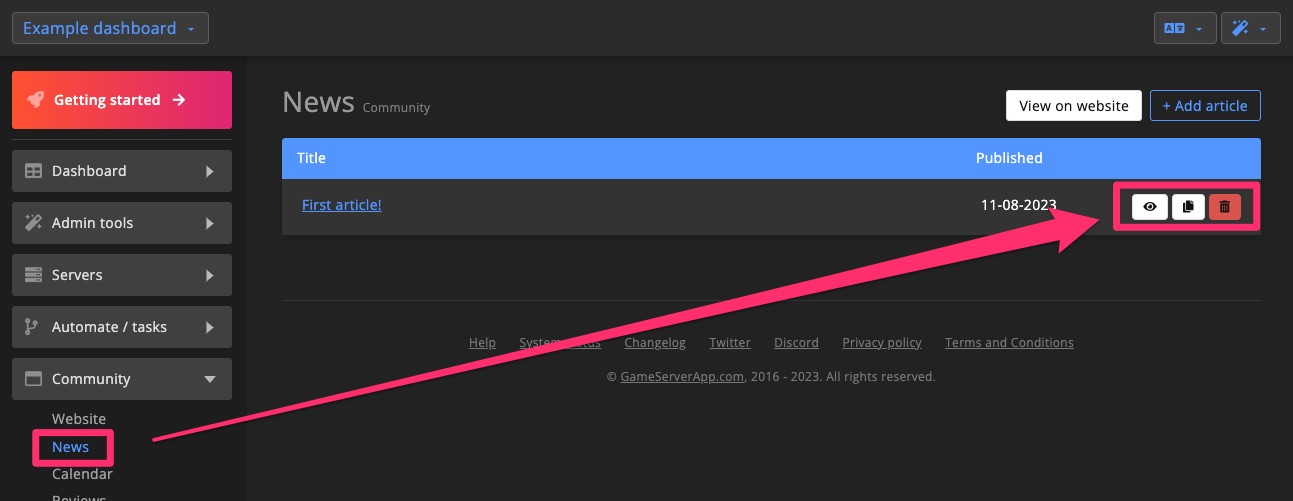
To create a new article, click + Add article in the top-right corner of the News overview page.
2. Add content
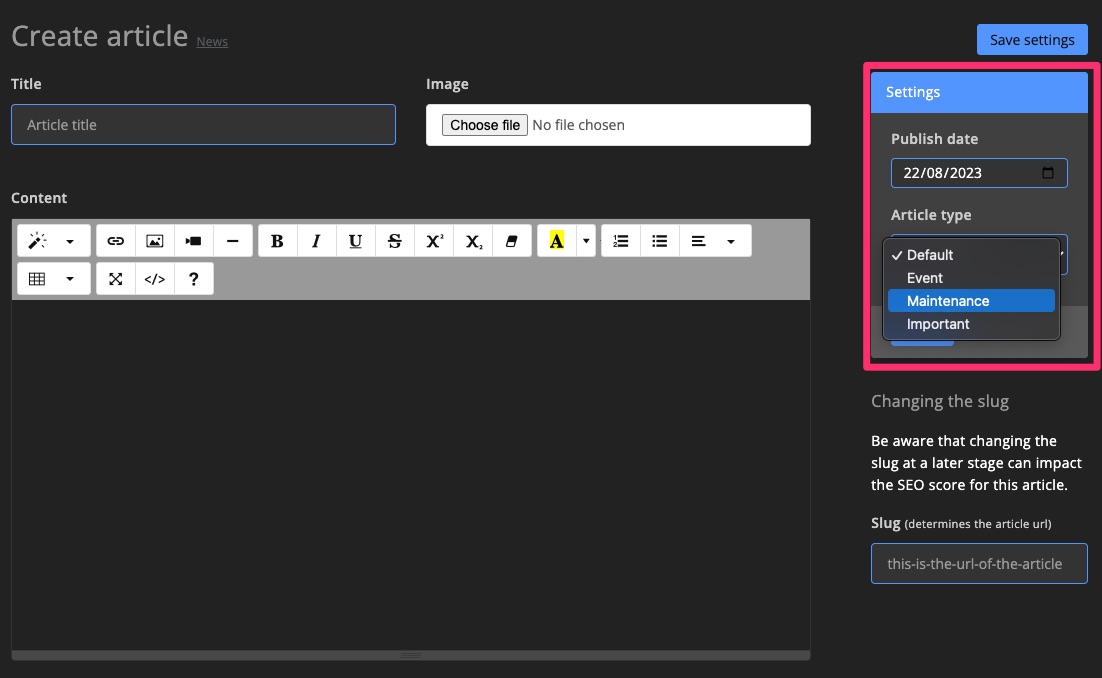
Provide a title, upload an image, and write the content of your article.
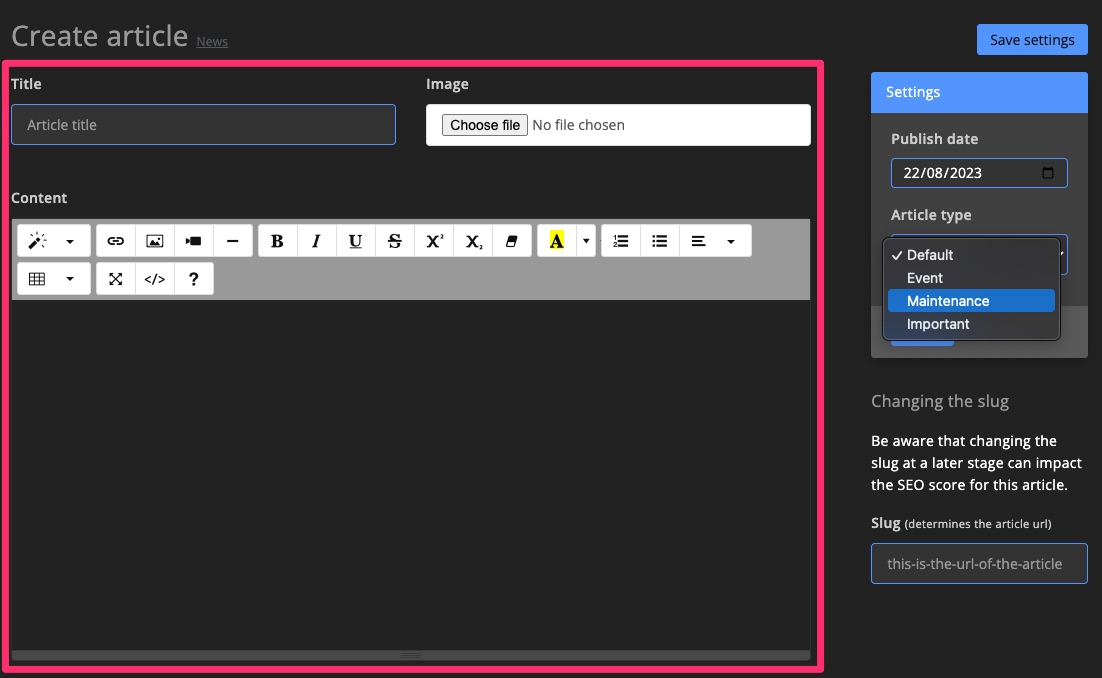
3. Finalise settings
Set a publish date. If you choose a future date, the article will remain hidden until then.
Choose an Article type to label your post. This will add a badge on the Community website to categorize it.
Manage articles
From the News overview page, you can easily clone or delete articles.
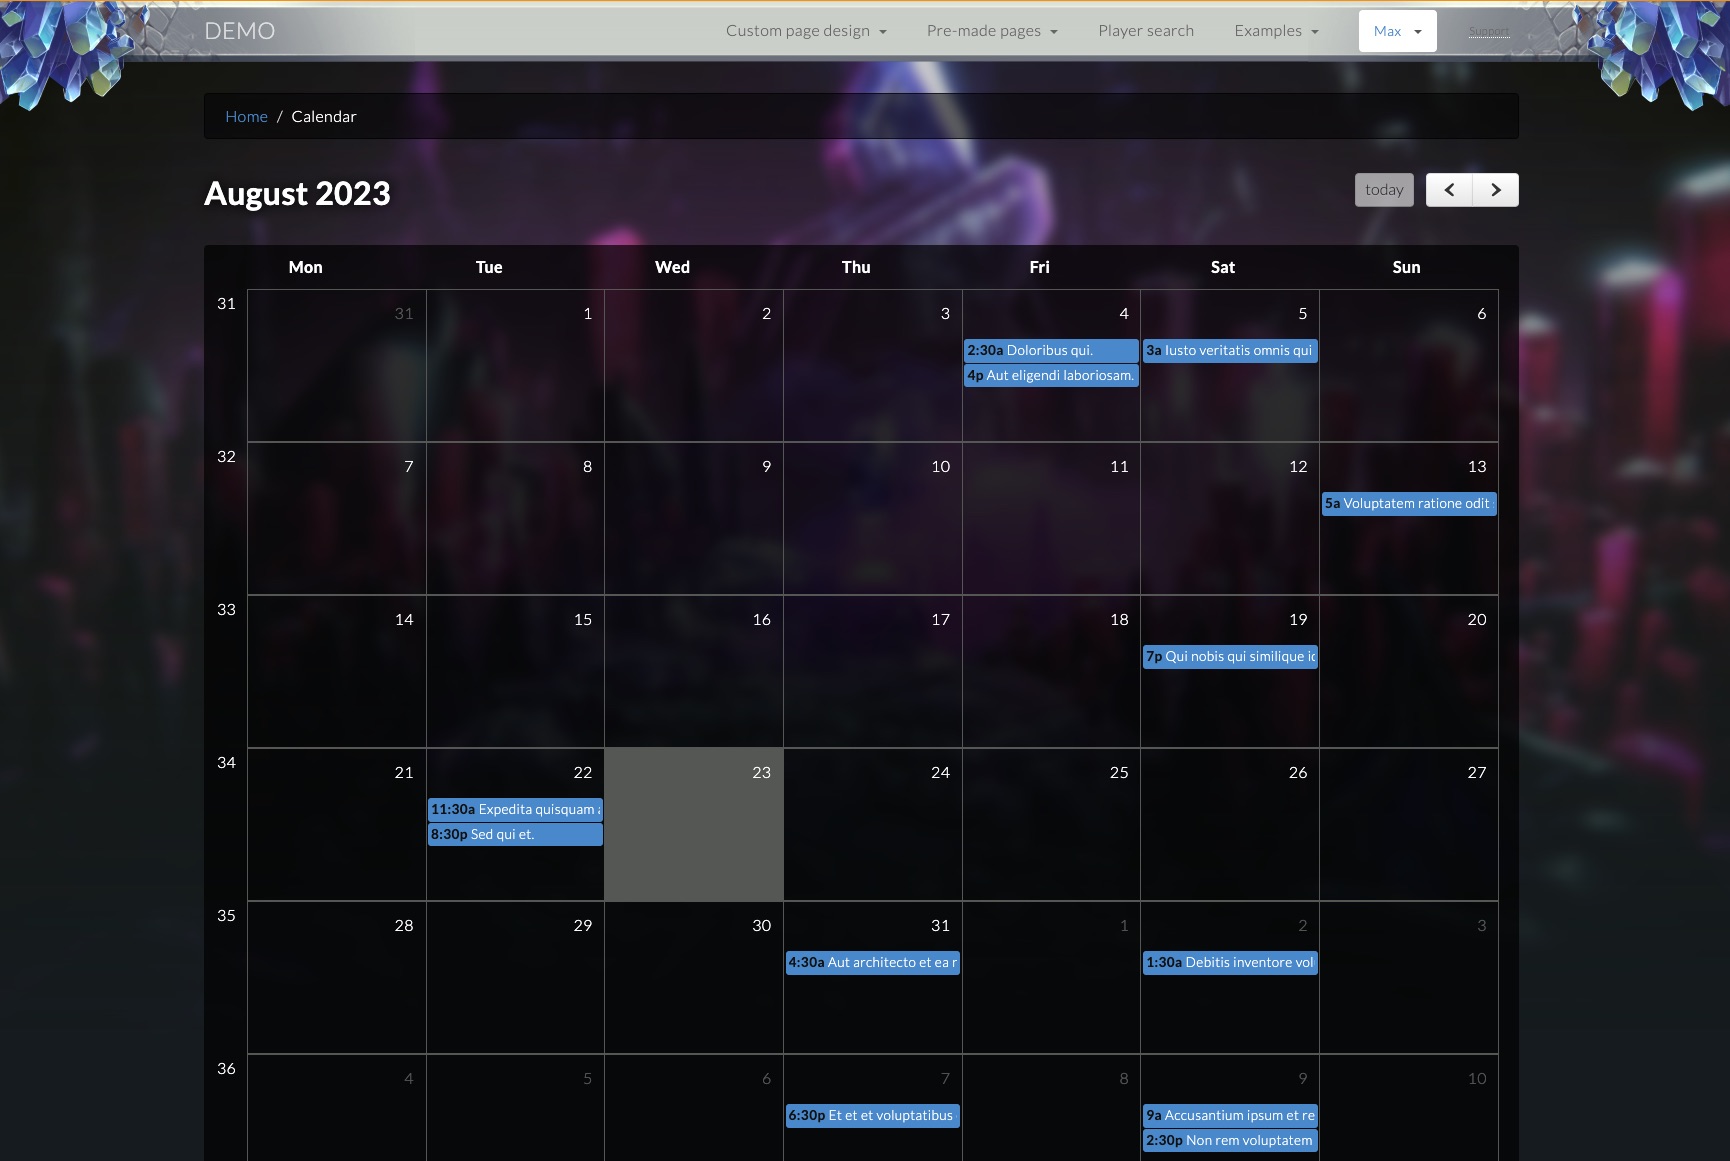
Calendar
Keep your players informed about upcoming events.
Create events
1. Click + Add event
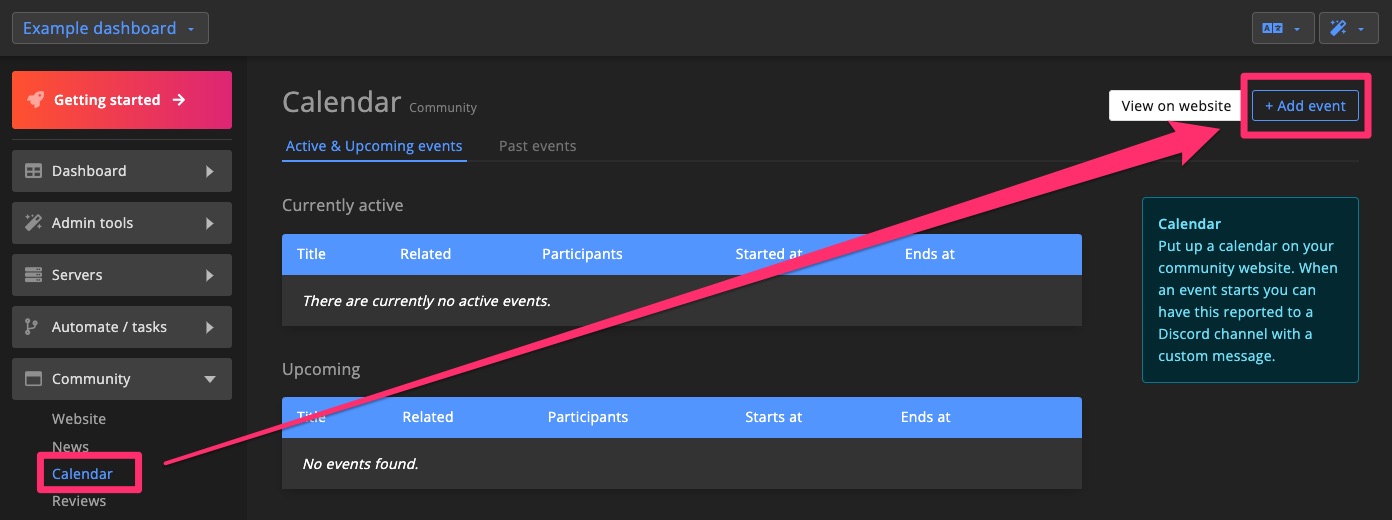
Click + Add event in the top-right corner on the Calendar overview page.
2. Add content
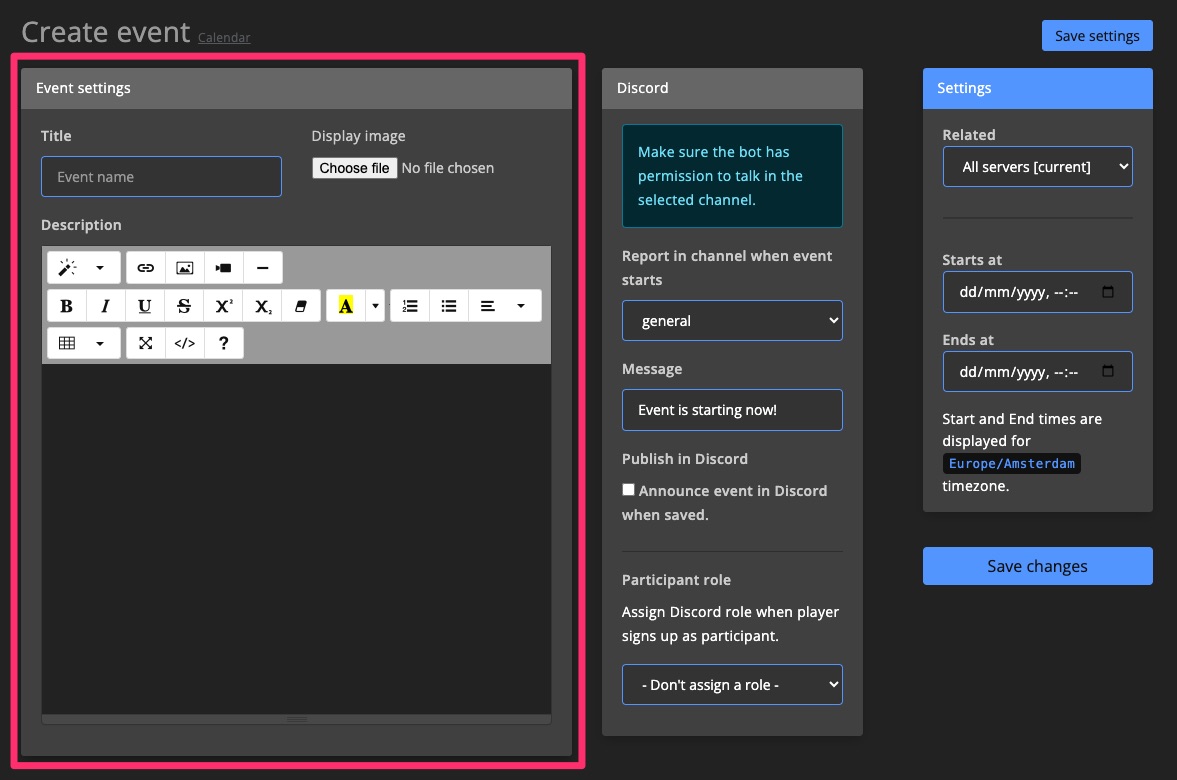
Enter a title, upload an image, and write a description for the event.
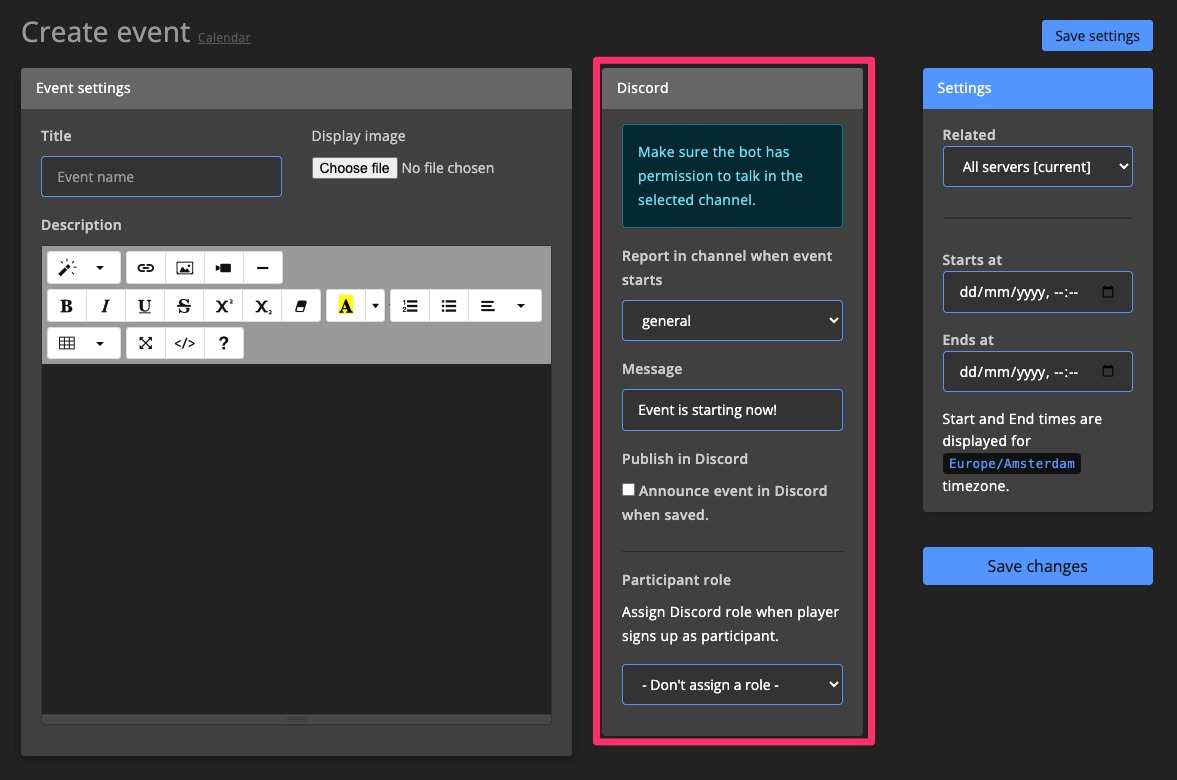
3. Discord settings
Configure the bot to announce the event in Discord and to send a reminder when it starts.
Choose a Discord role that will be assigned to participants who sign up.
4. Event settings
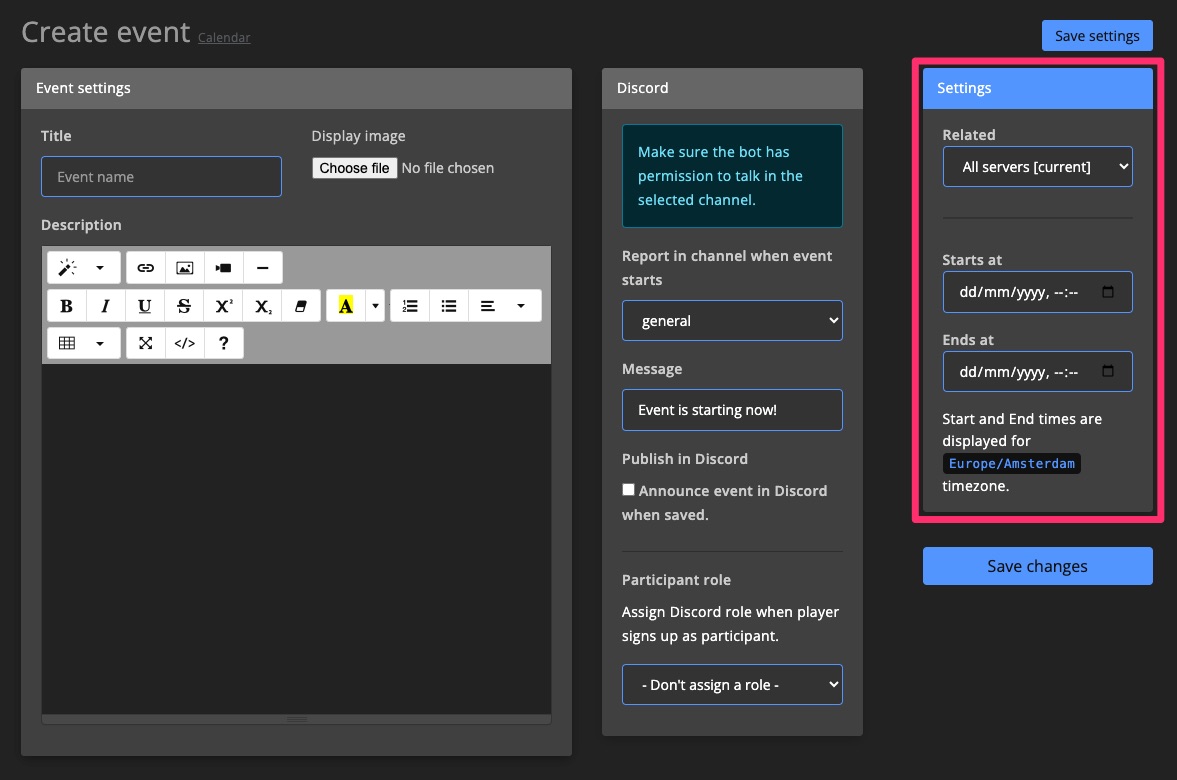
Select the game server(s) that relate to the event. Then set the starts at and ends at date/time.
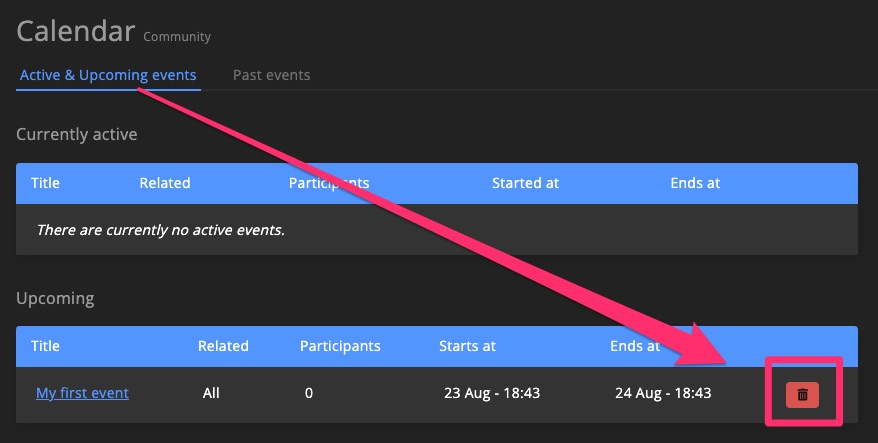
Manage events
You can delete events from the Calendar overview page.
Reviews
Gather player feedback to help your admin team improve the community. Track trends in player happiness over time.

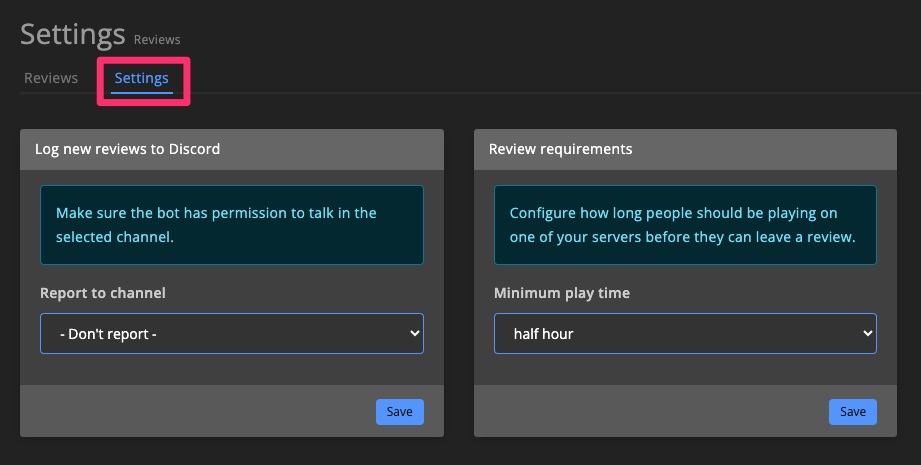
Review settings
Enable automatic reporting to your Discord server and define how long a player must be active on your server before they’re allowed to leave a review.
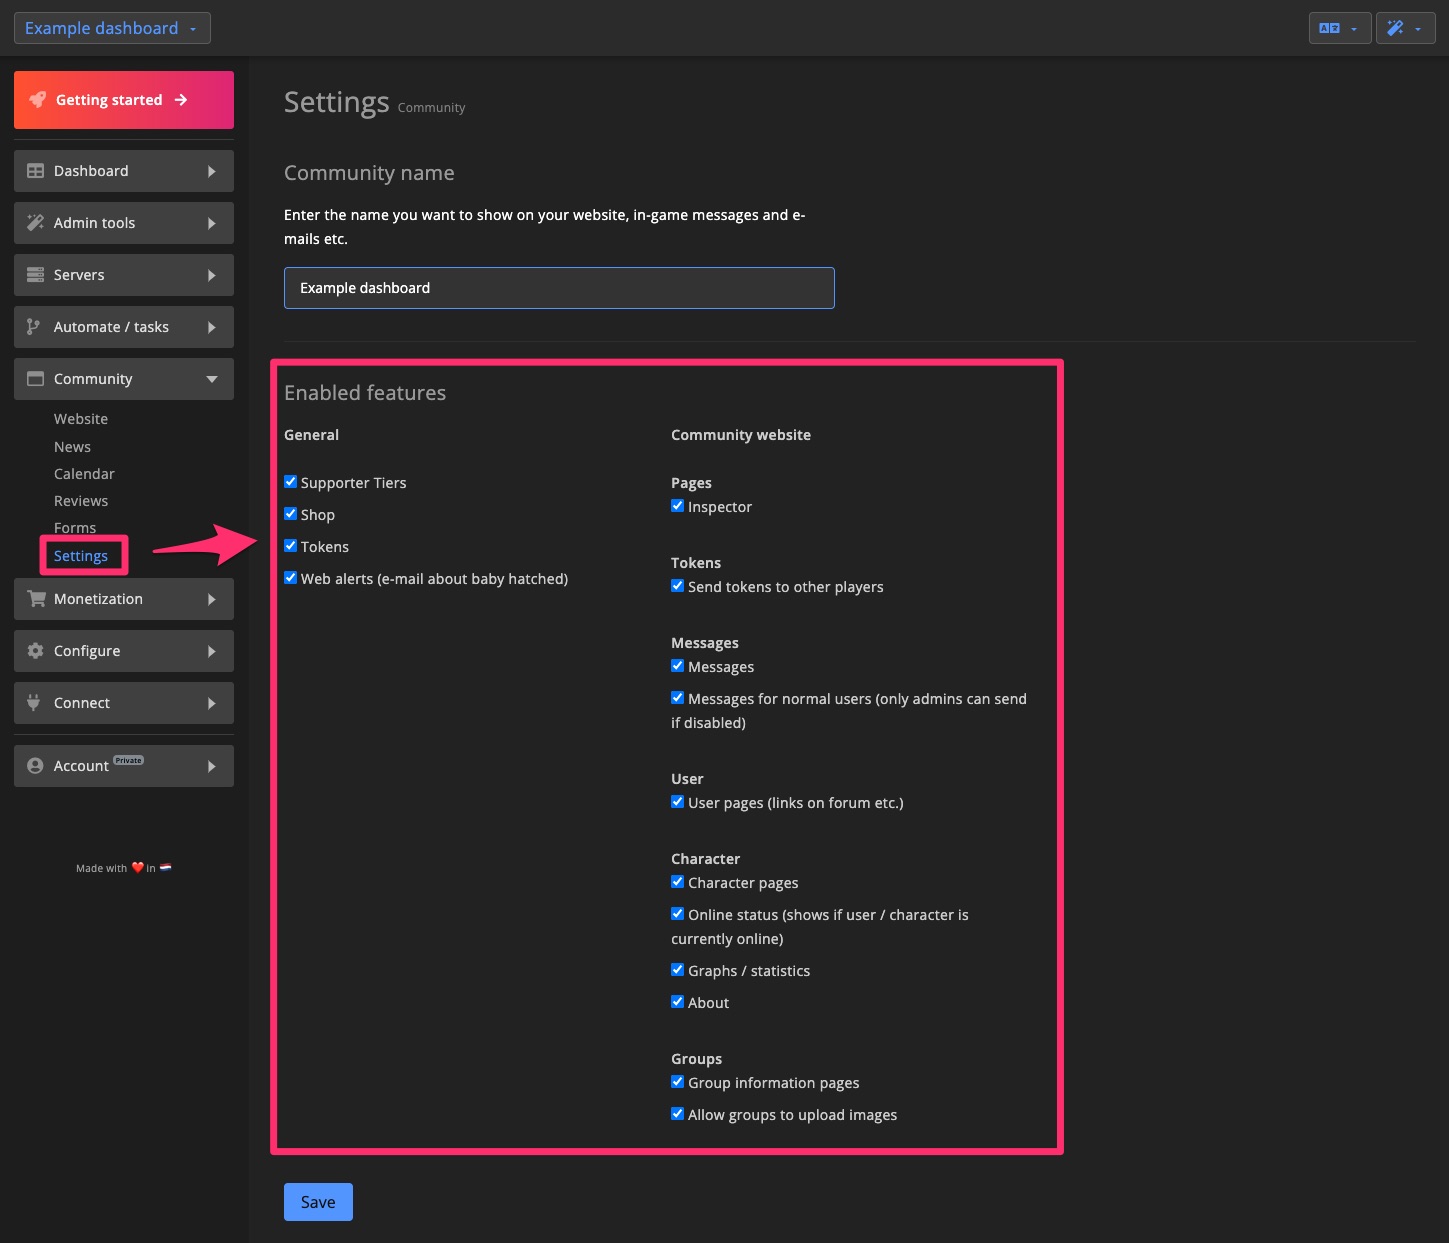
Settings
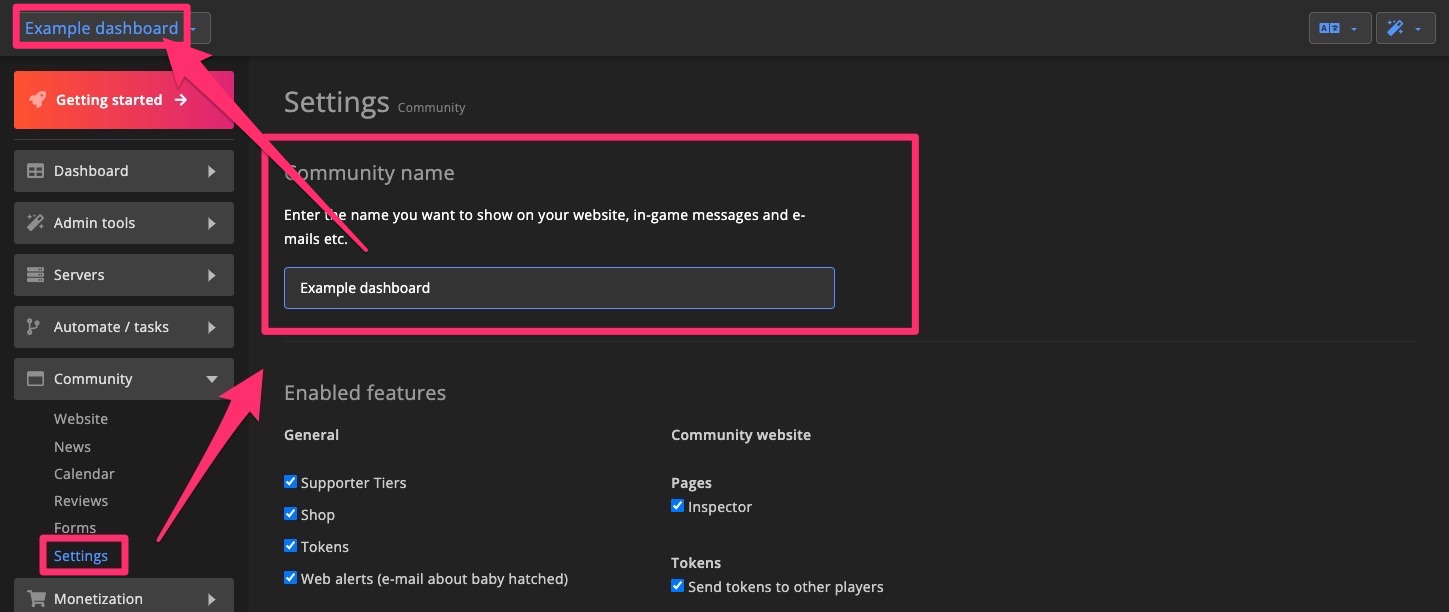
Community name
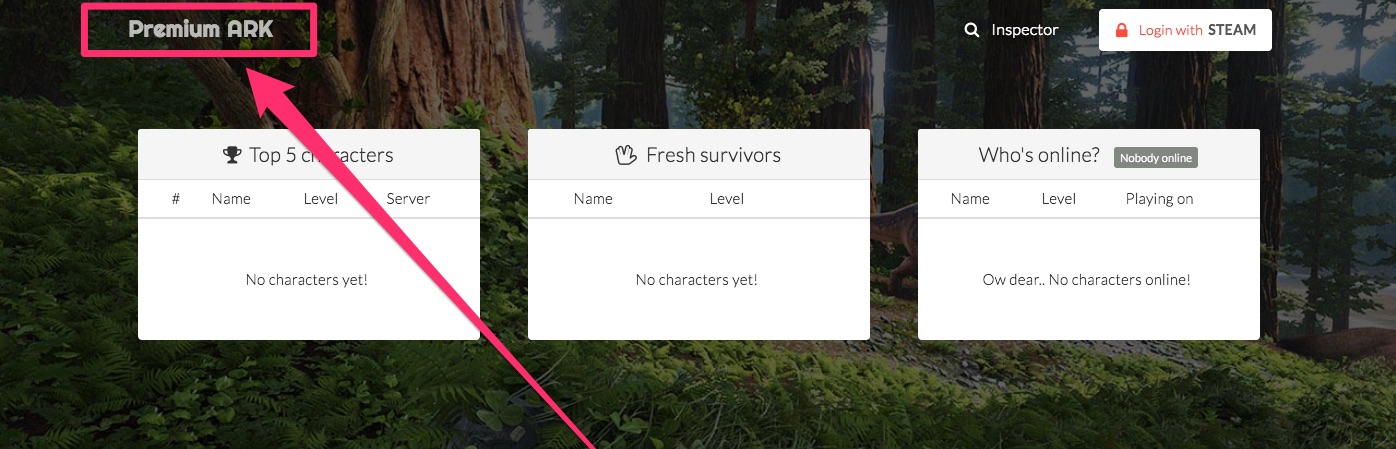
Set your community name, which will appear throughout the dashboard and on the Community website.
Enabled features
Control which features are active in the dashboard, Community website, and Discord bot.
You can enable or disable the following:
- General:
- Supporter Tier
- Shop
- Tokens
- Web alerts
- Community website:
- Inspector pages
- Send tokens to players
- Messages
- User pages
- Character pages
- Online status
- Character & group graphs/statistics
- About info
- Group info pages
- Allow groups to upload images