Shop packs
Sell perks for tokens using Single or Collection packs. Shop packs offer flexible purchase limits and powerful customization.
Find inspiration or get started with GSA's Shop packs using the Shop pack marketplace >
Shop Pack Types
There are two types of Shop packs you can create:
Single
A Single Shop pack is a standalone package without sub-packages.
You can include existing Single packs inside a Collection.

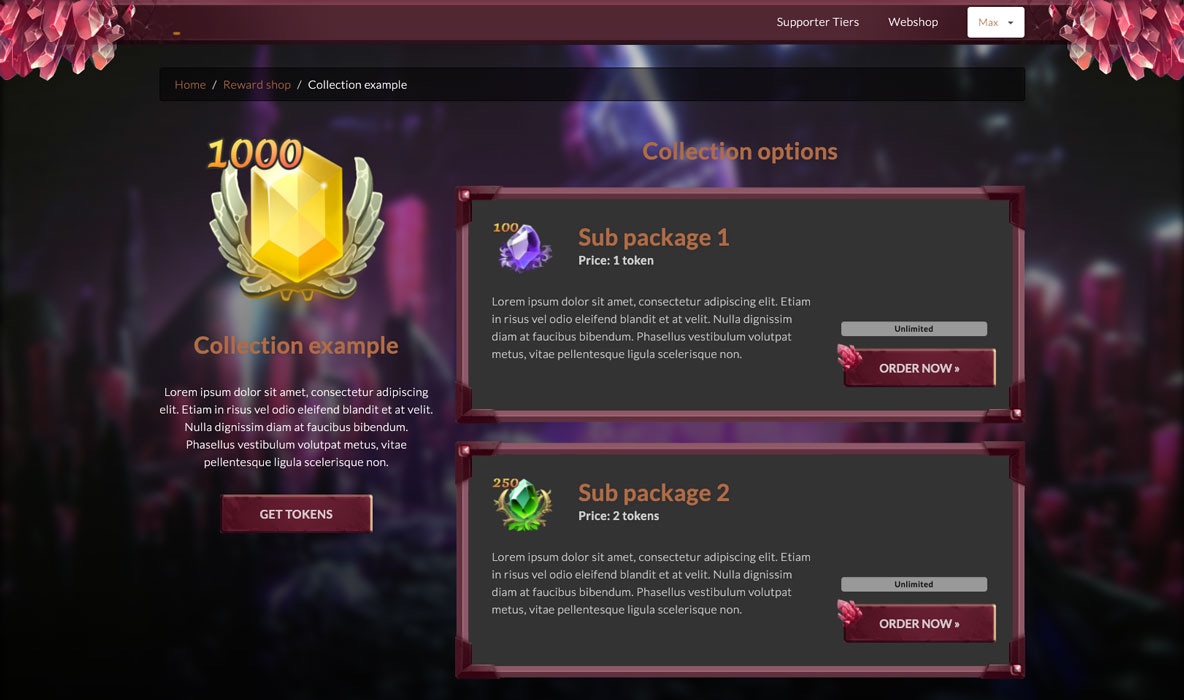
Collection
A Collection lets you group multiple sub-packages under one pack. This is ideal for offering different variations, quantities, or categories within a single display.
Create a Shop Pack
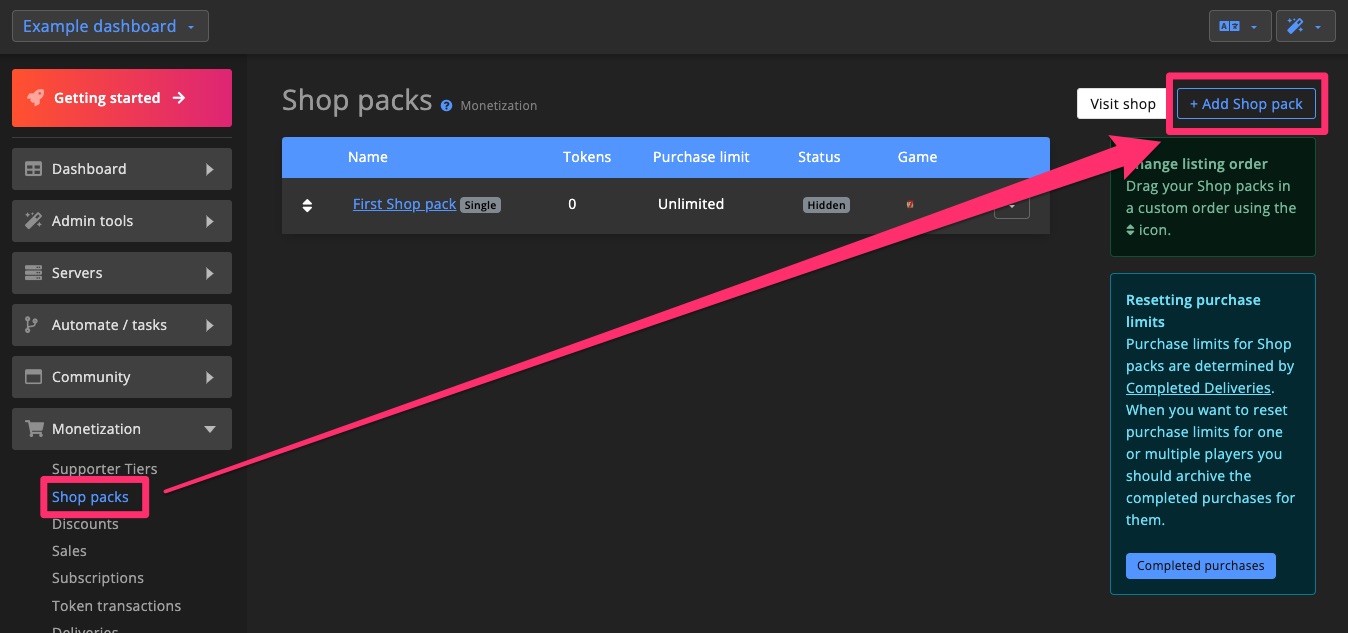
1. Click + Add Shop Pack
Go to the Shop Pack Overview page in the top-right corner and click + Add Shop Pack.
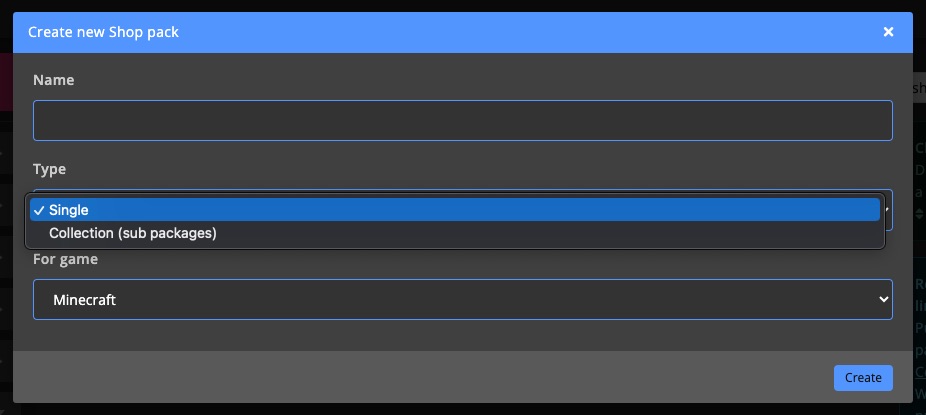
In the popup, enter a name, select the Type of Shop pack, choose the game, and click Create.
2. Configure Settings
Write a short description that explains what your Shop pack includes. This will appear on the Community website.
If the game supports an in-game shop, you can upload an in-game image as well. Learn more about all Shop pack settings >.
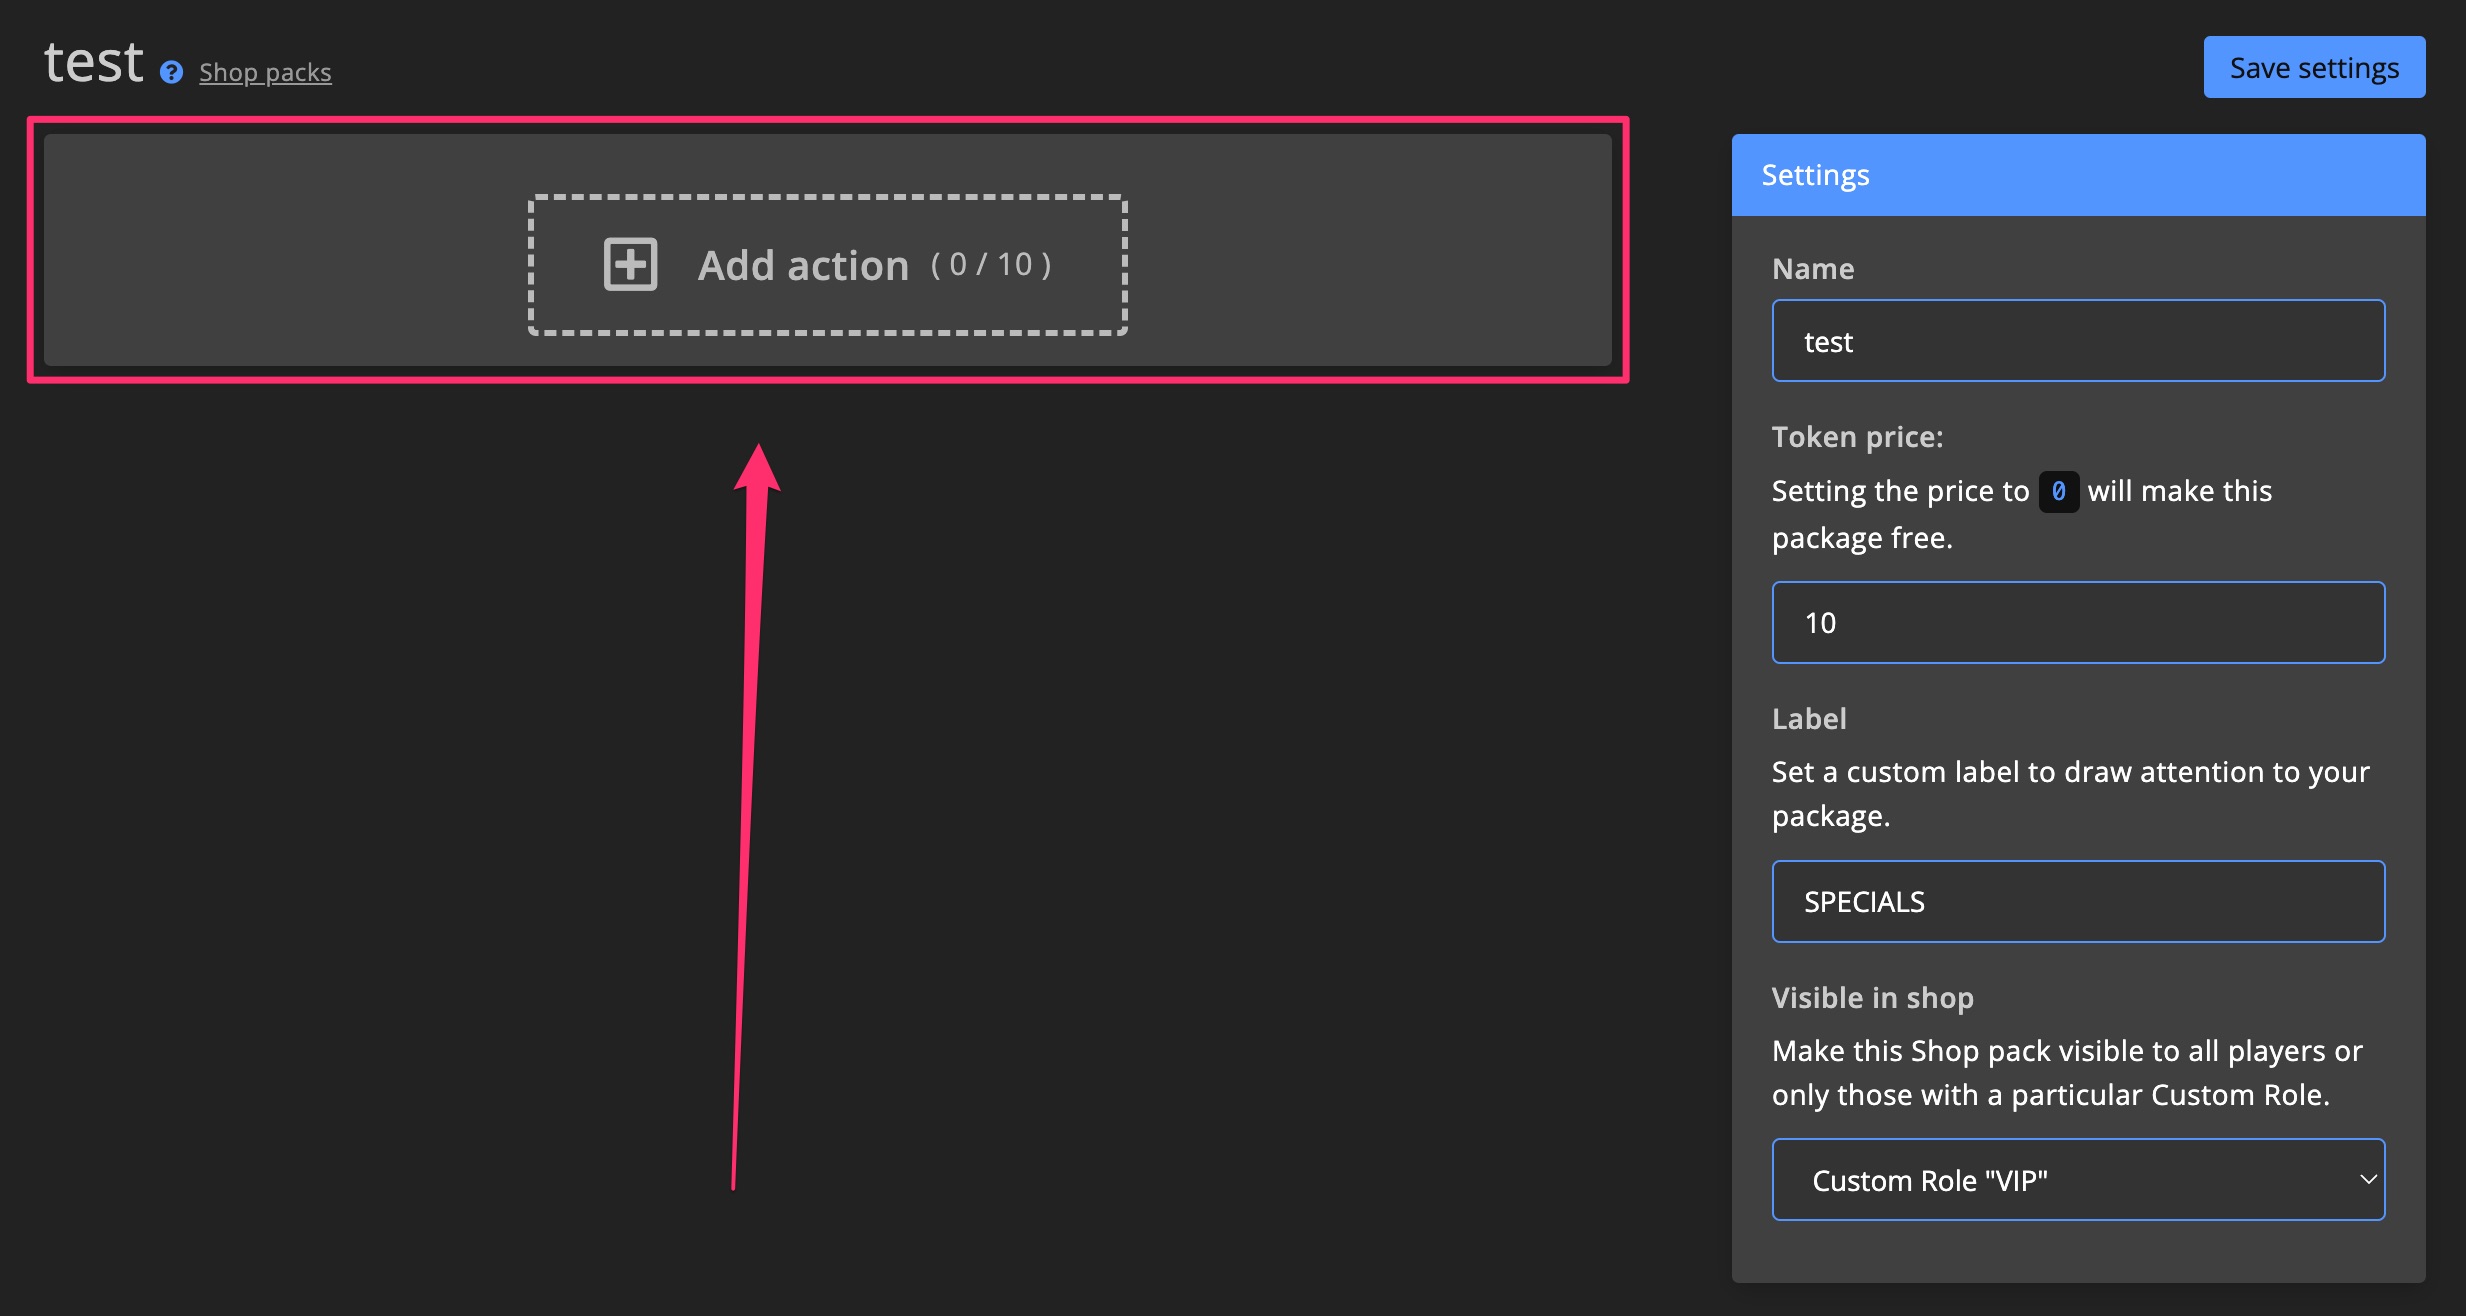
3. Add Actions
Actions work like Task actions, but differ slightly between Shop pack types and are triggered when a Shop pack is purchased. Learn more about available actions >
Single
For Single packs, the actions run when a player makes a purchase.
Collection
In Collections, each sub-package must have its own actions. See Sub packages Collection for full details.
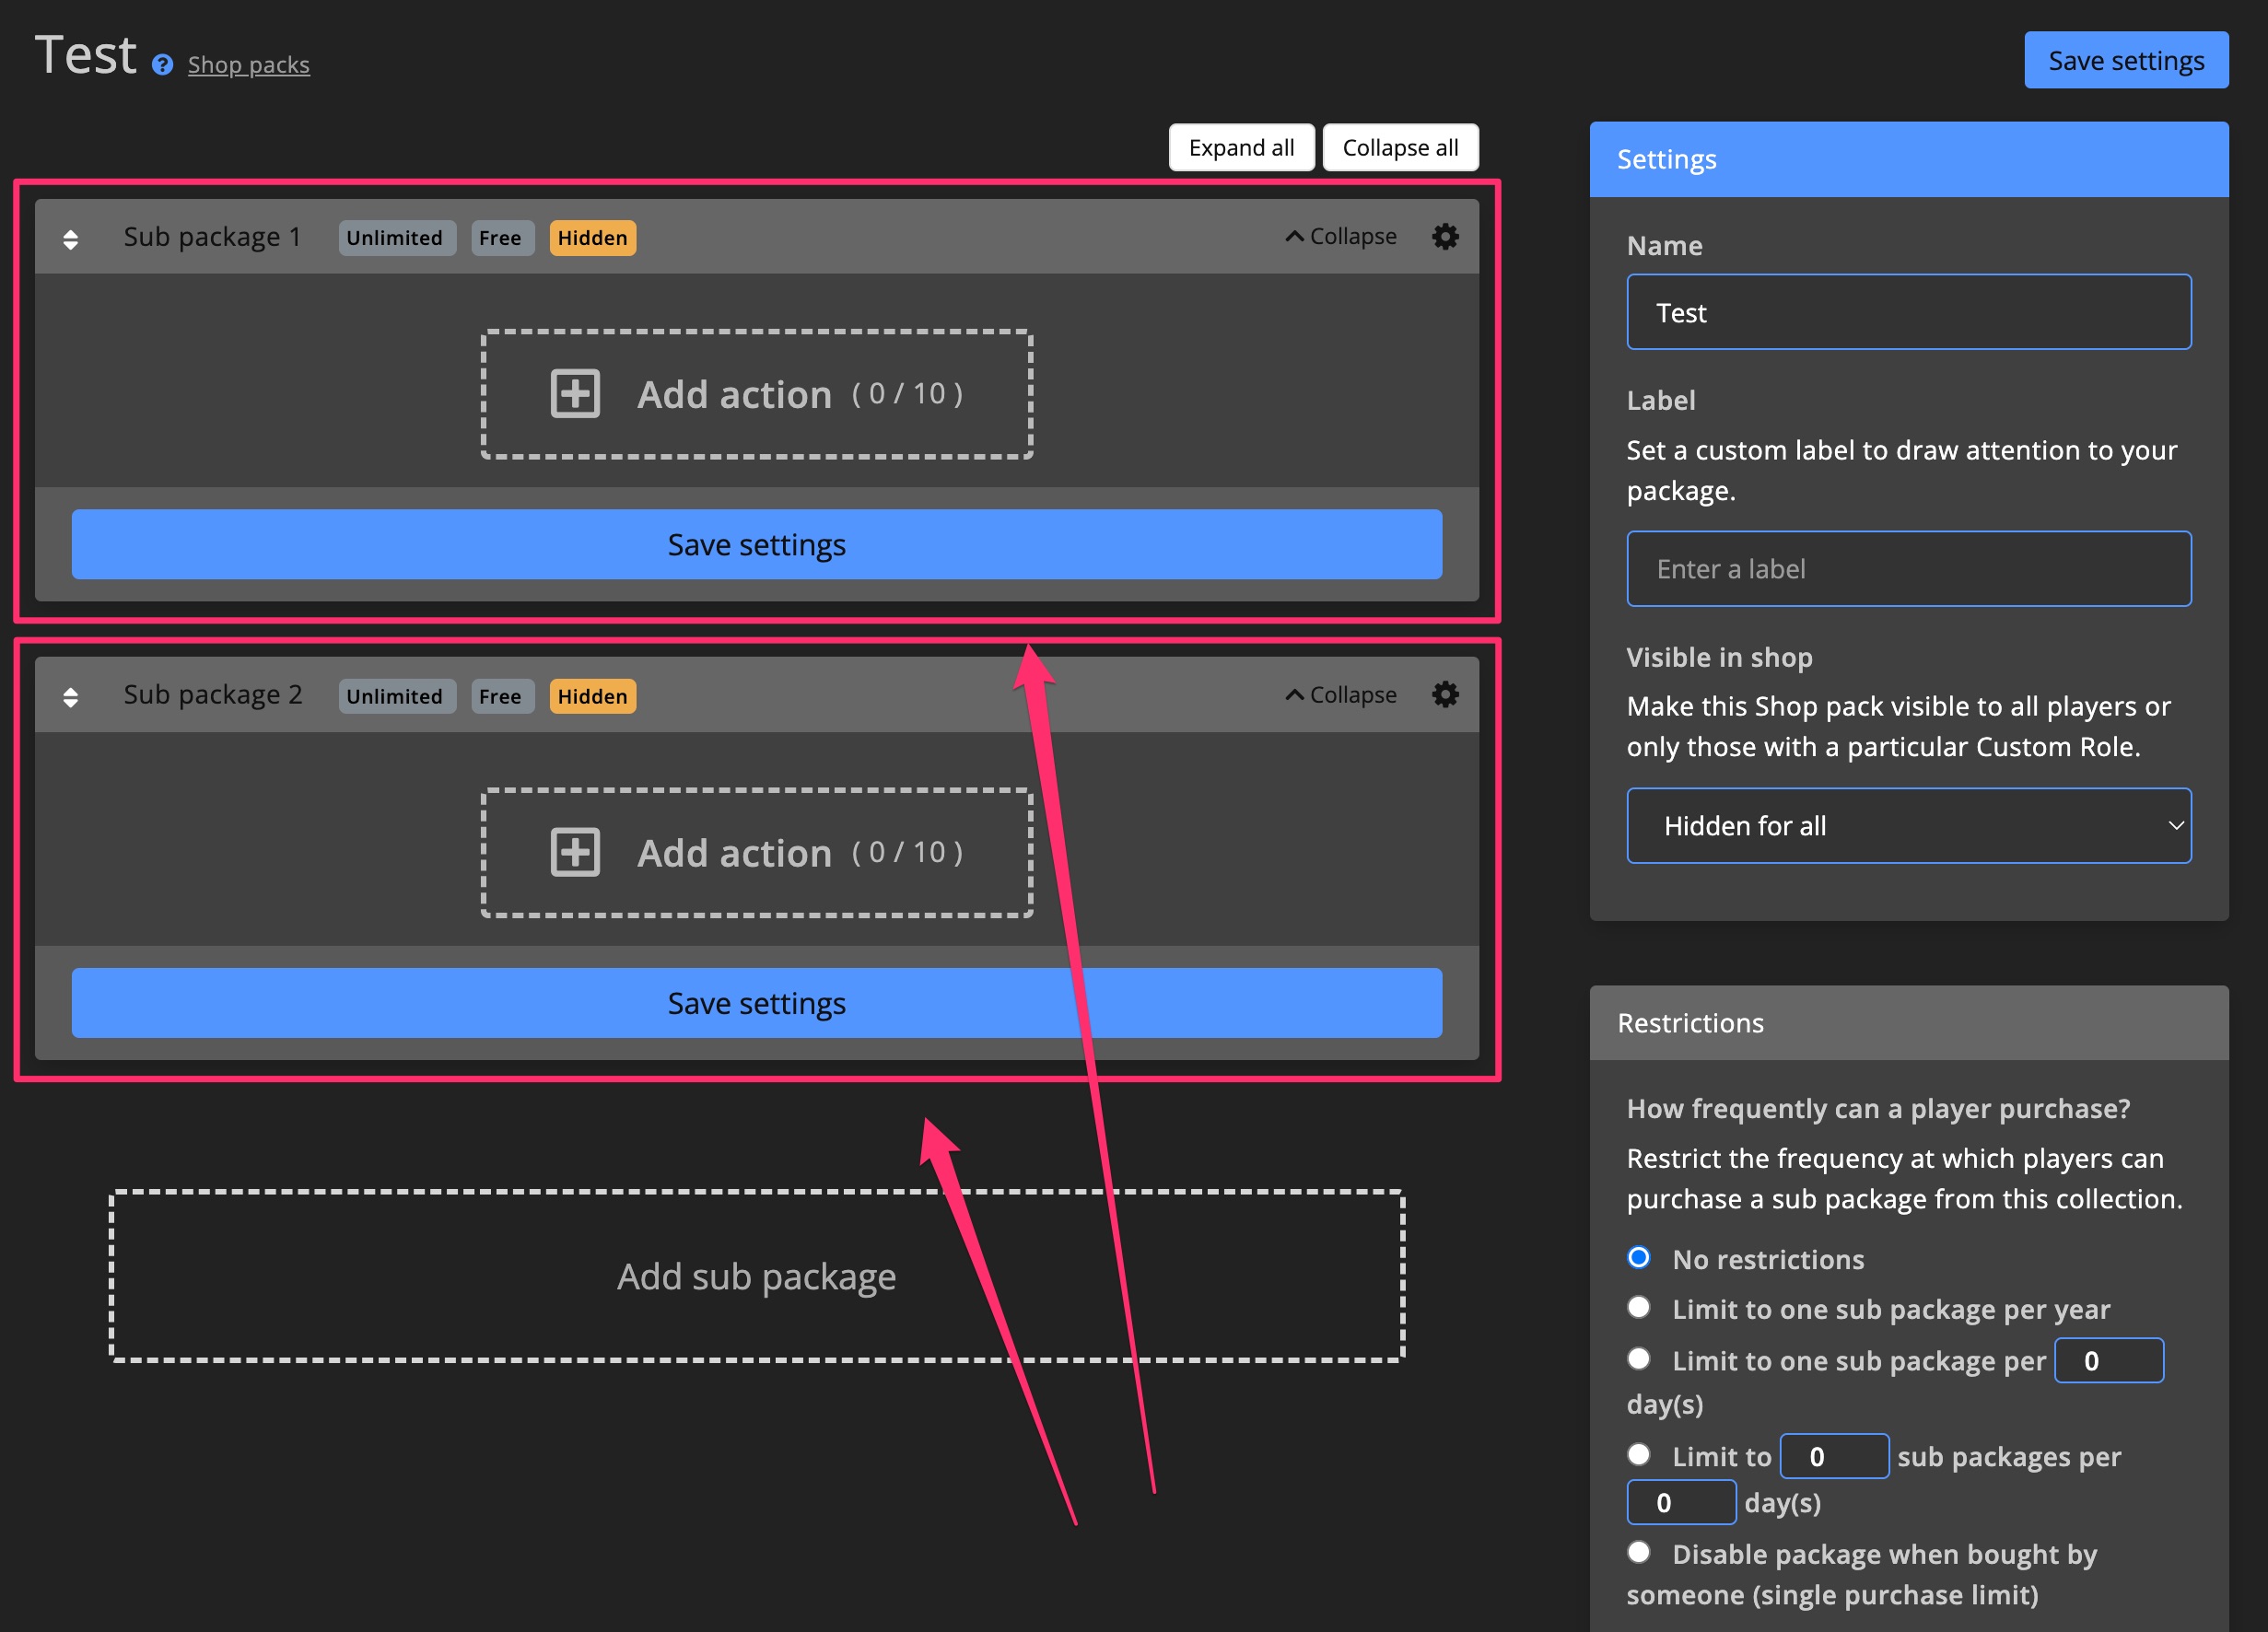
Sub-packages Collection
Add to Collection
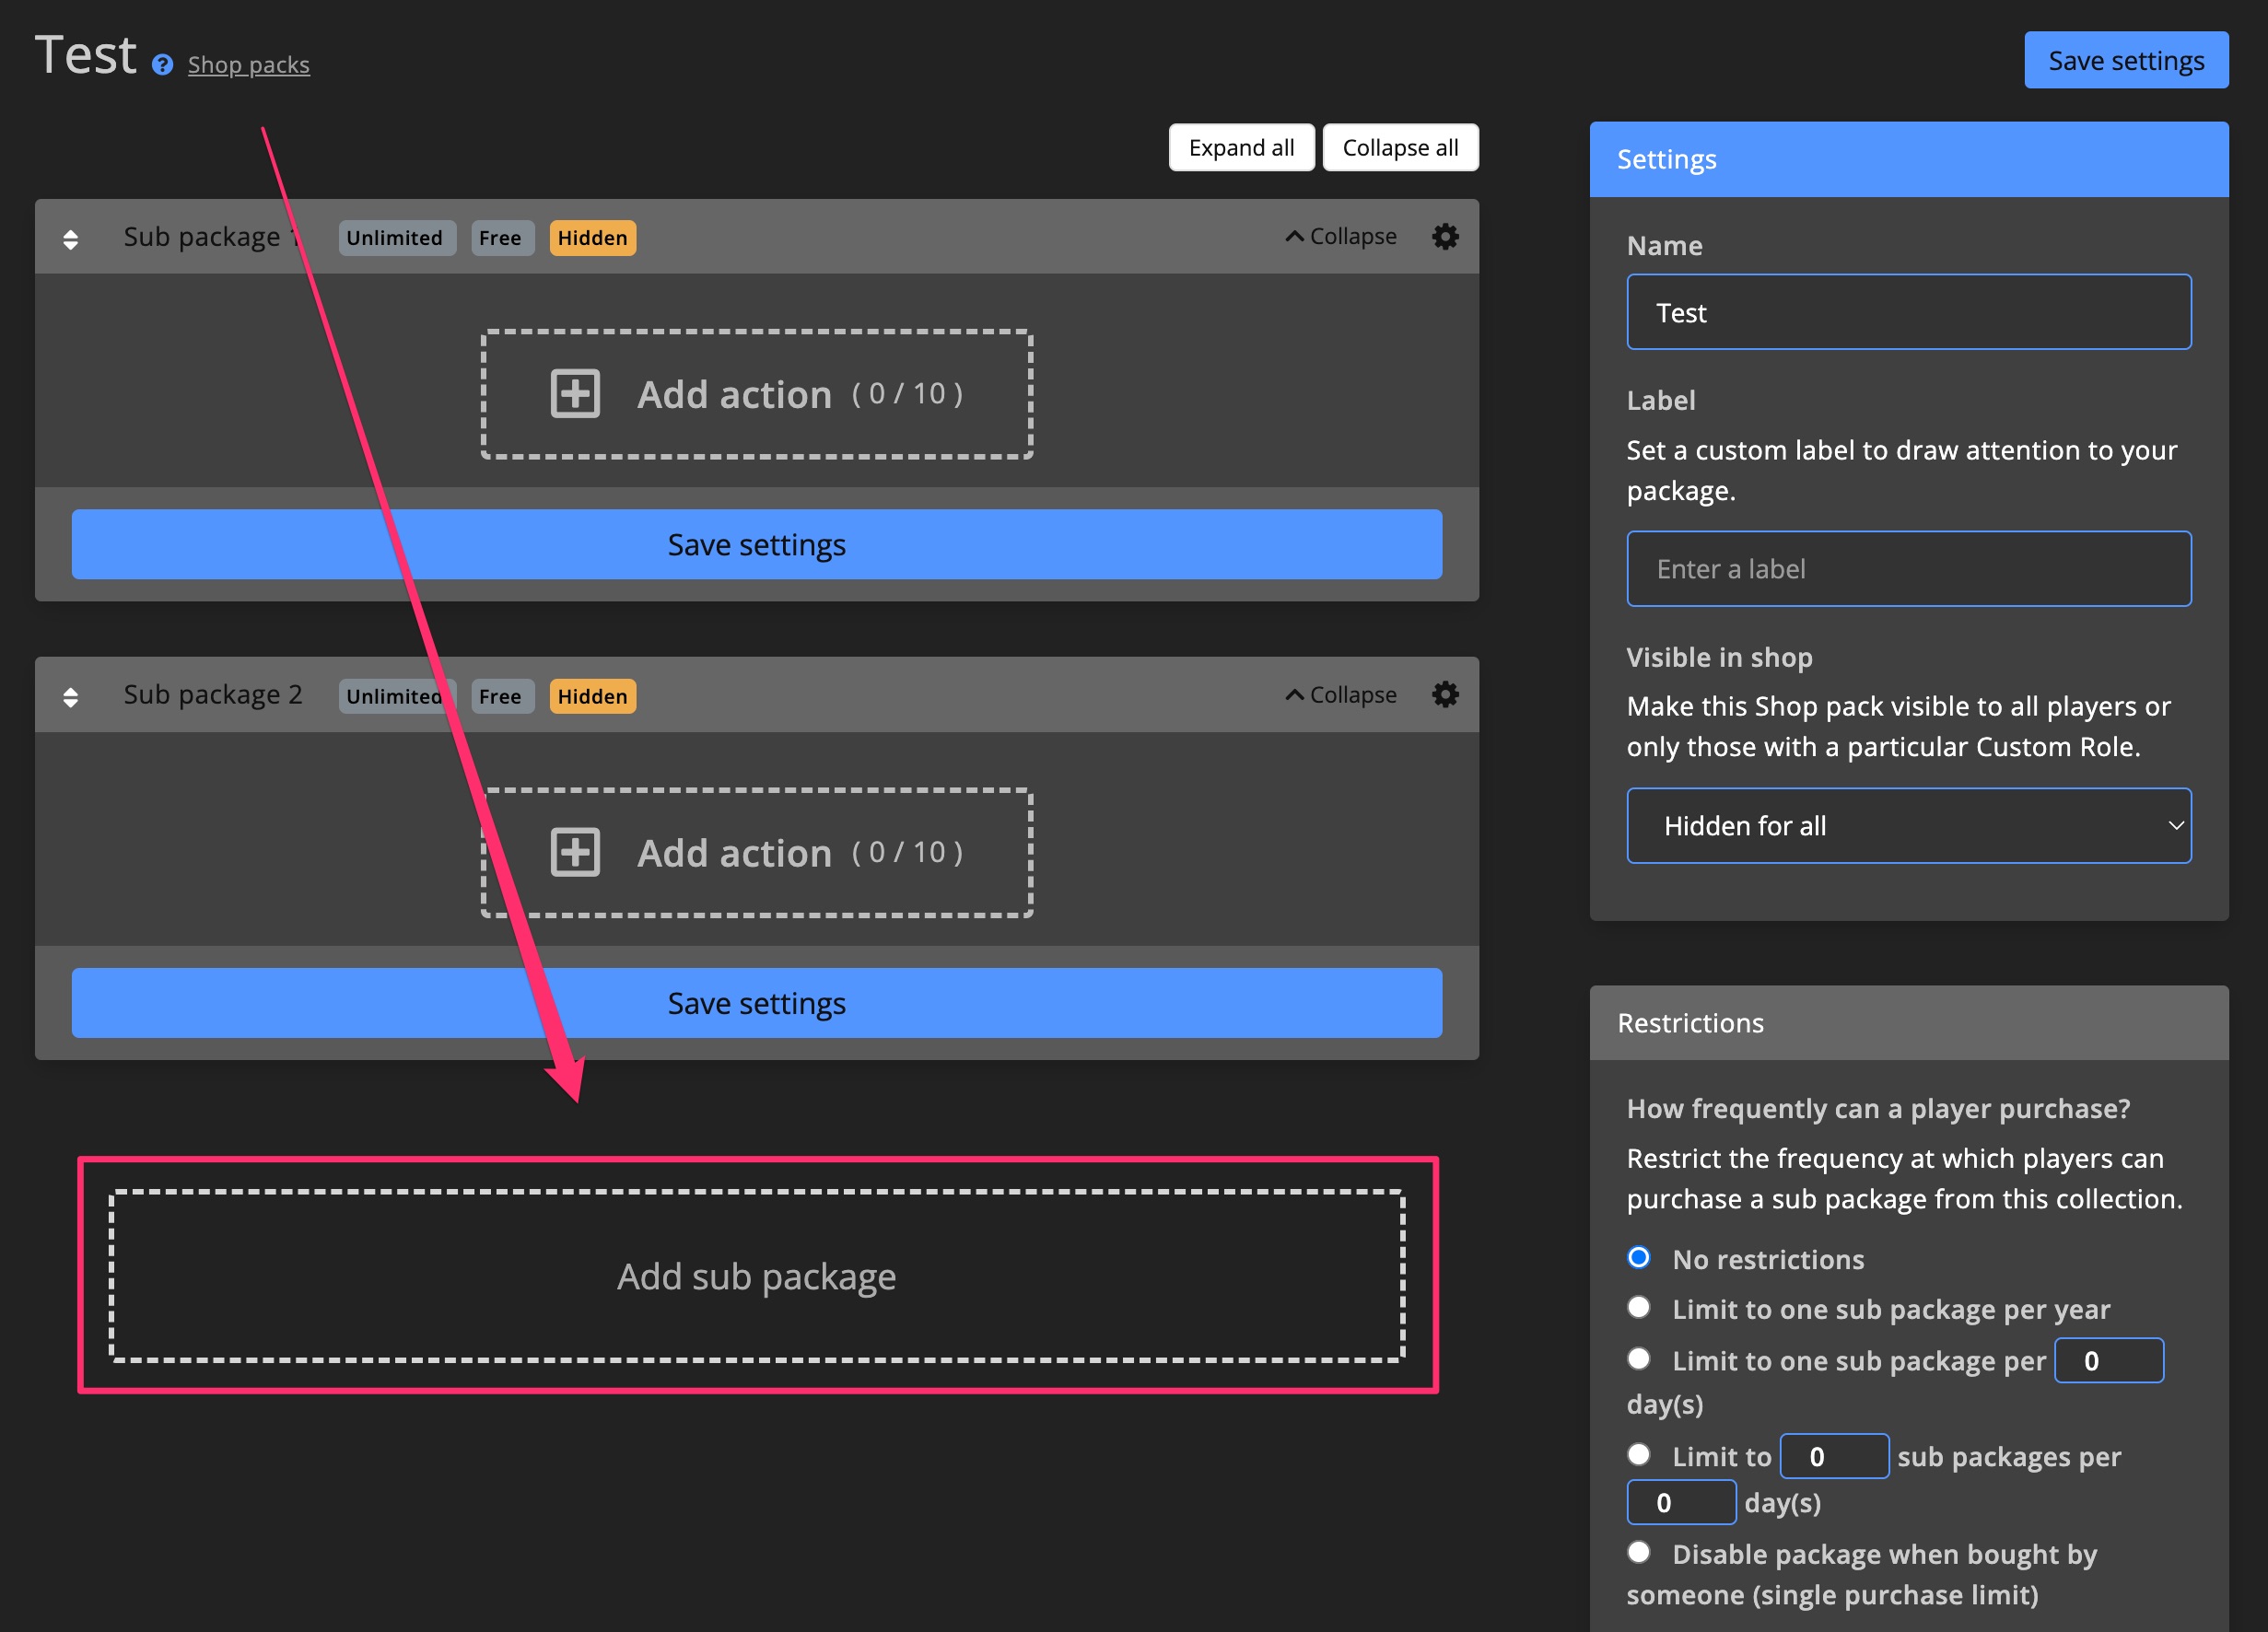
Add New Sub-package
To add a sub-package to your Collection, go to the Sub-packages page and click Add Sub-package.
Convert Single to Collection Sub-package
You can also add an existing Single pack to a Collection.
Click the icon next to the Shop pack, then select Add to Collection.
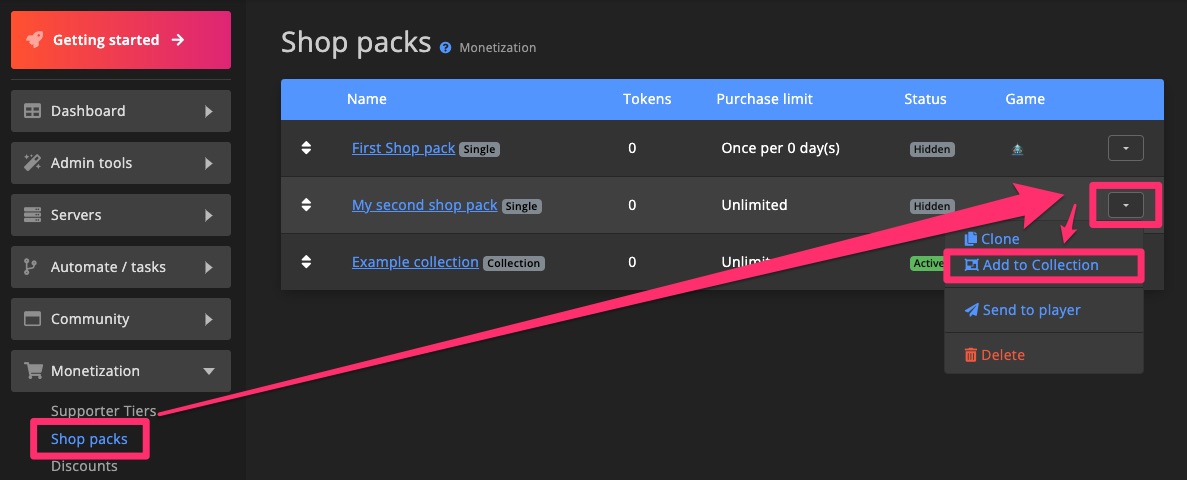
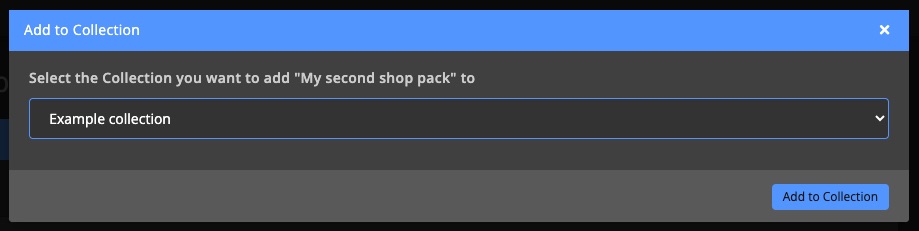
Choose the Collection where the Single item should be added.
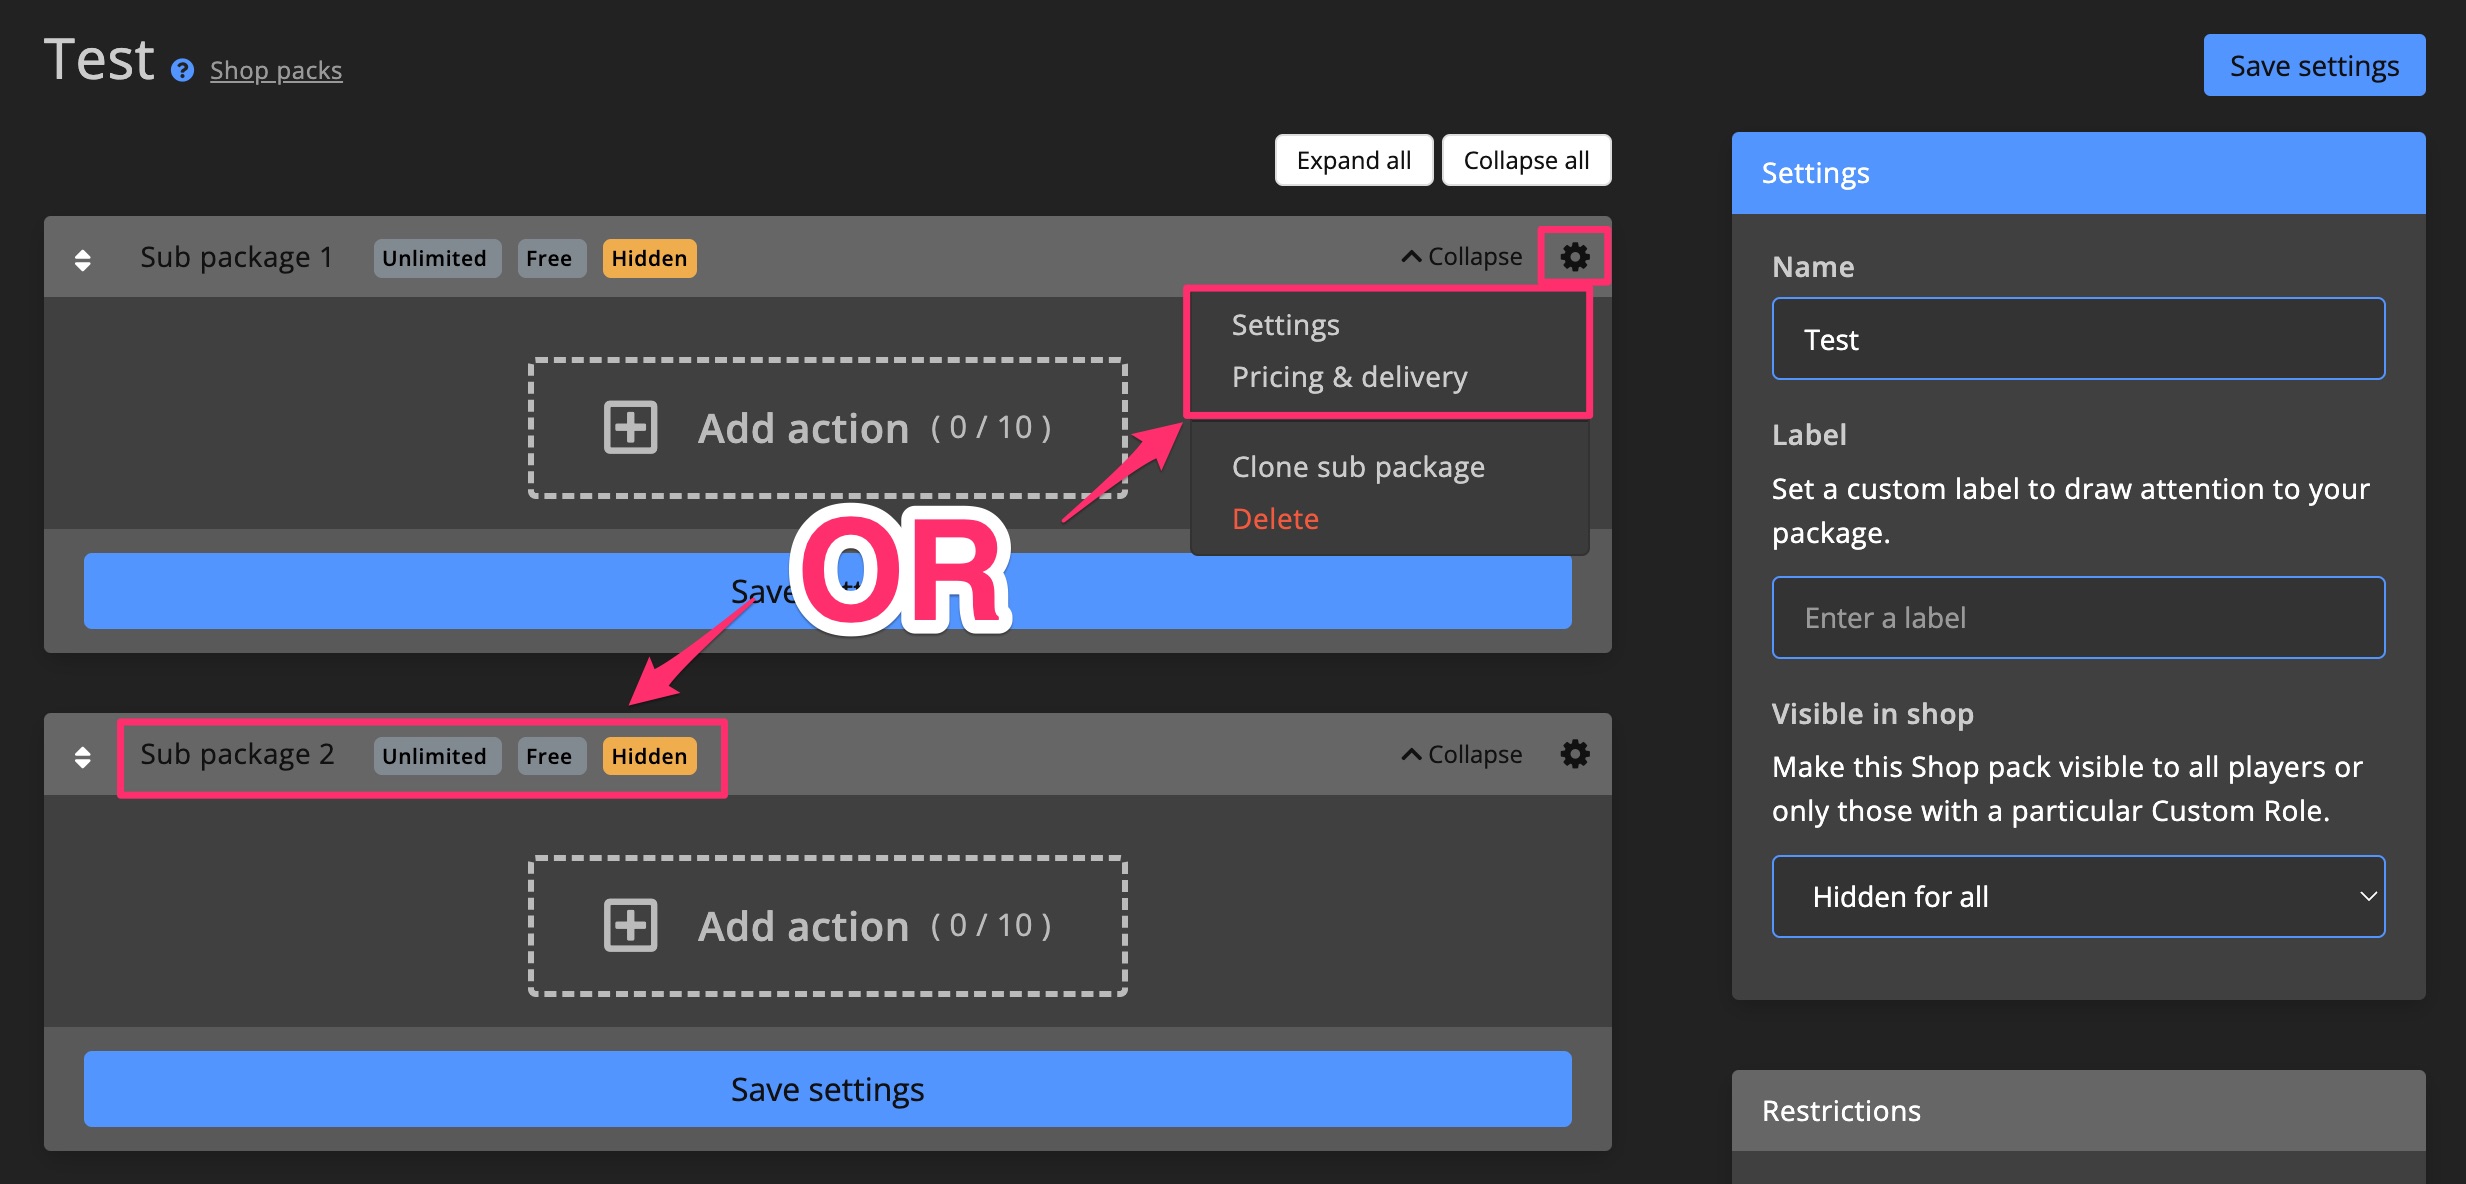
Settings, Pricing & Delivery
Click the icon next to each sub-package to access its settings or pricing.
You can also click the title or badges for quick access.
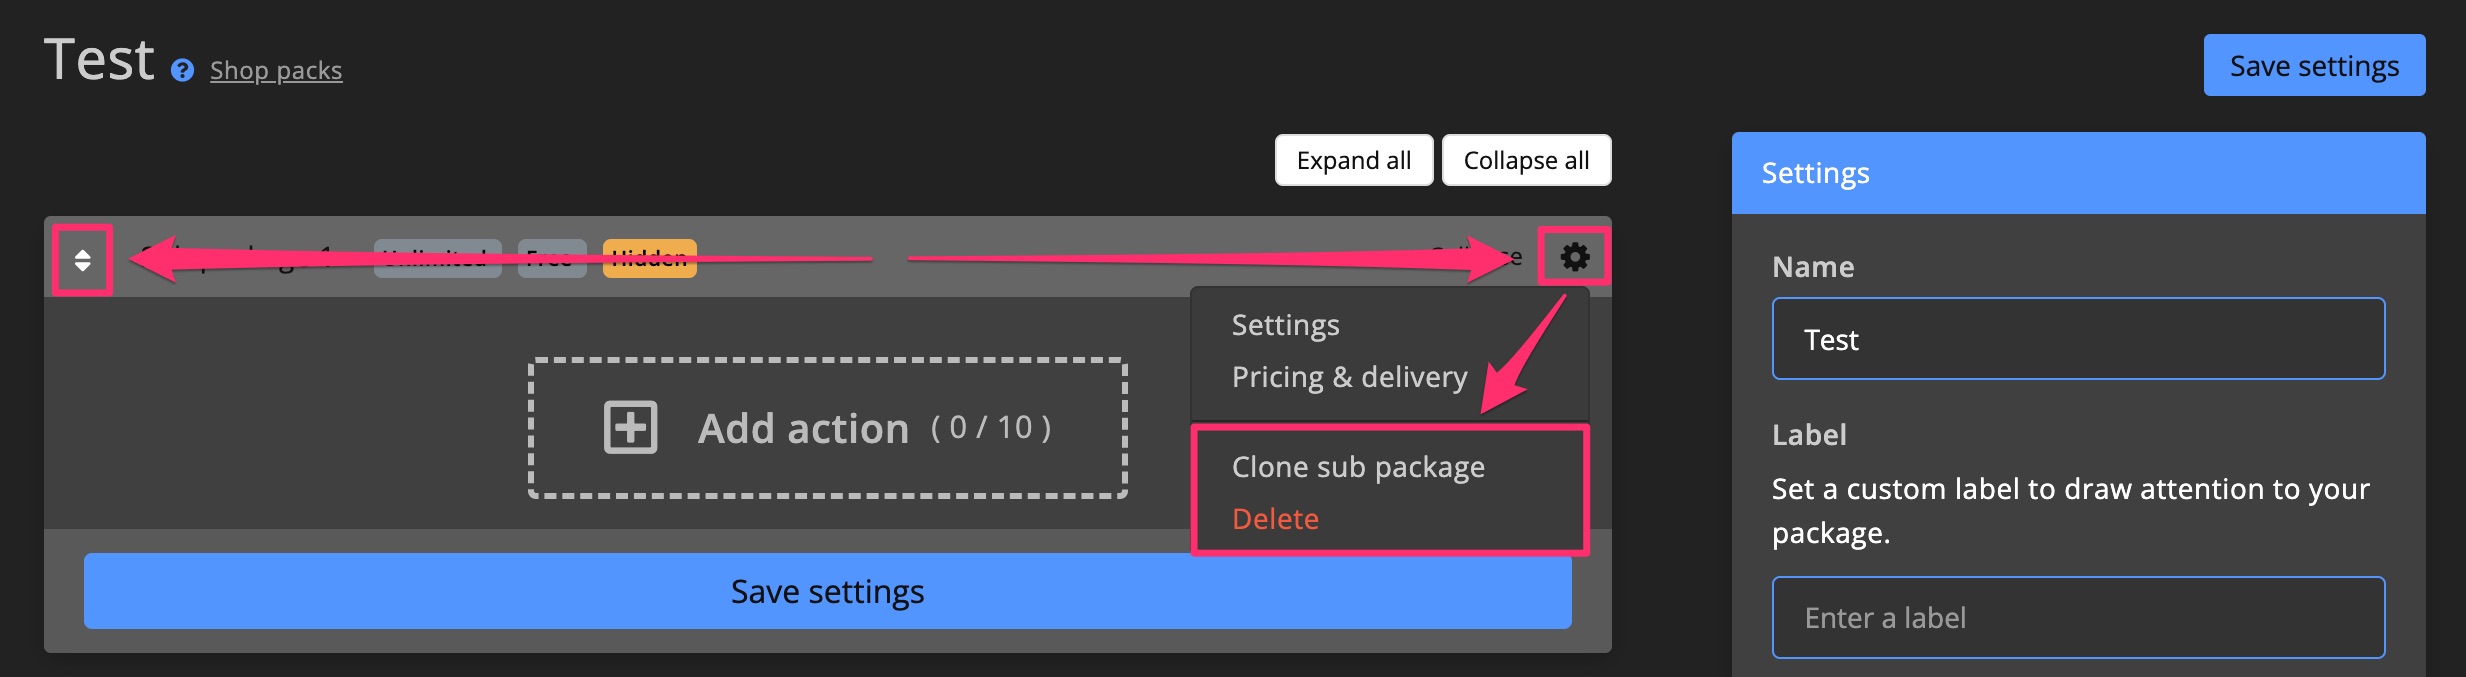
Manage
To reorder sub-packages, drag the icon. Use the menu to clone or delete.
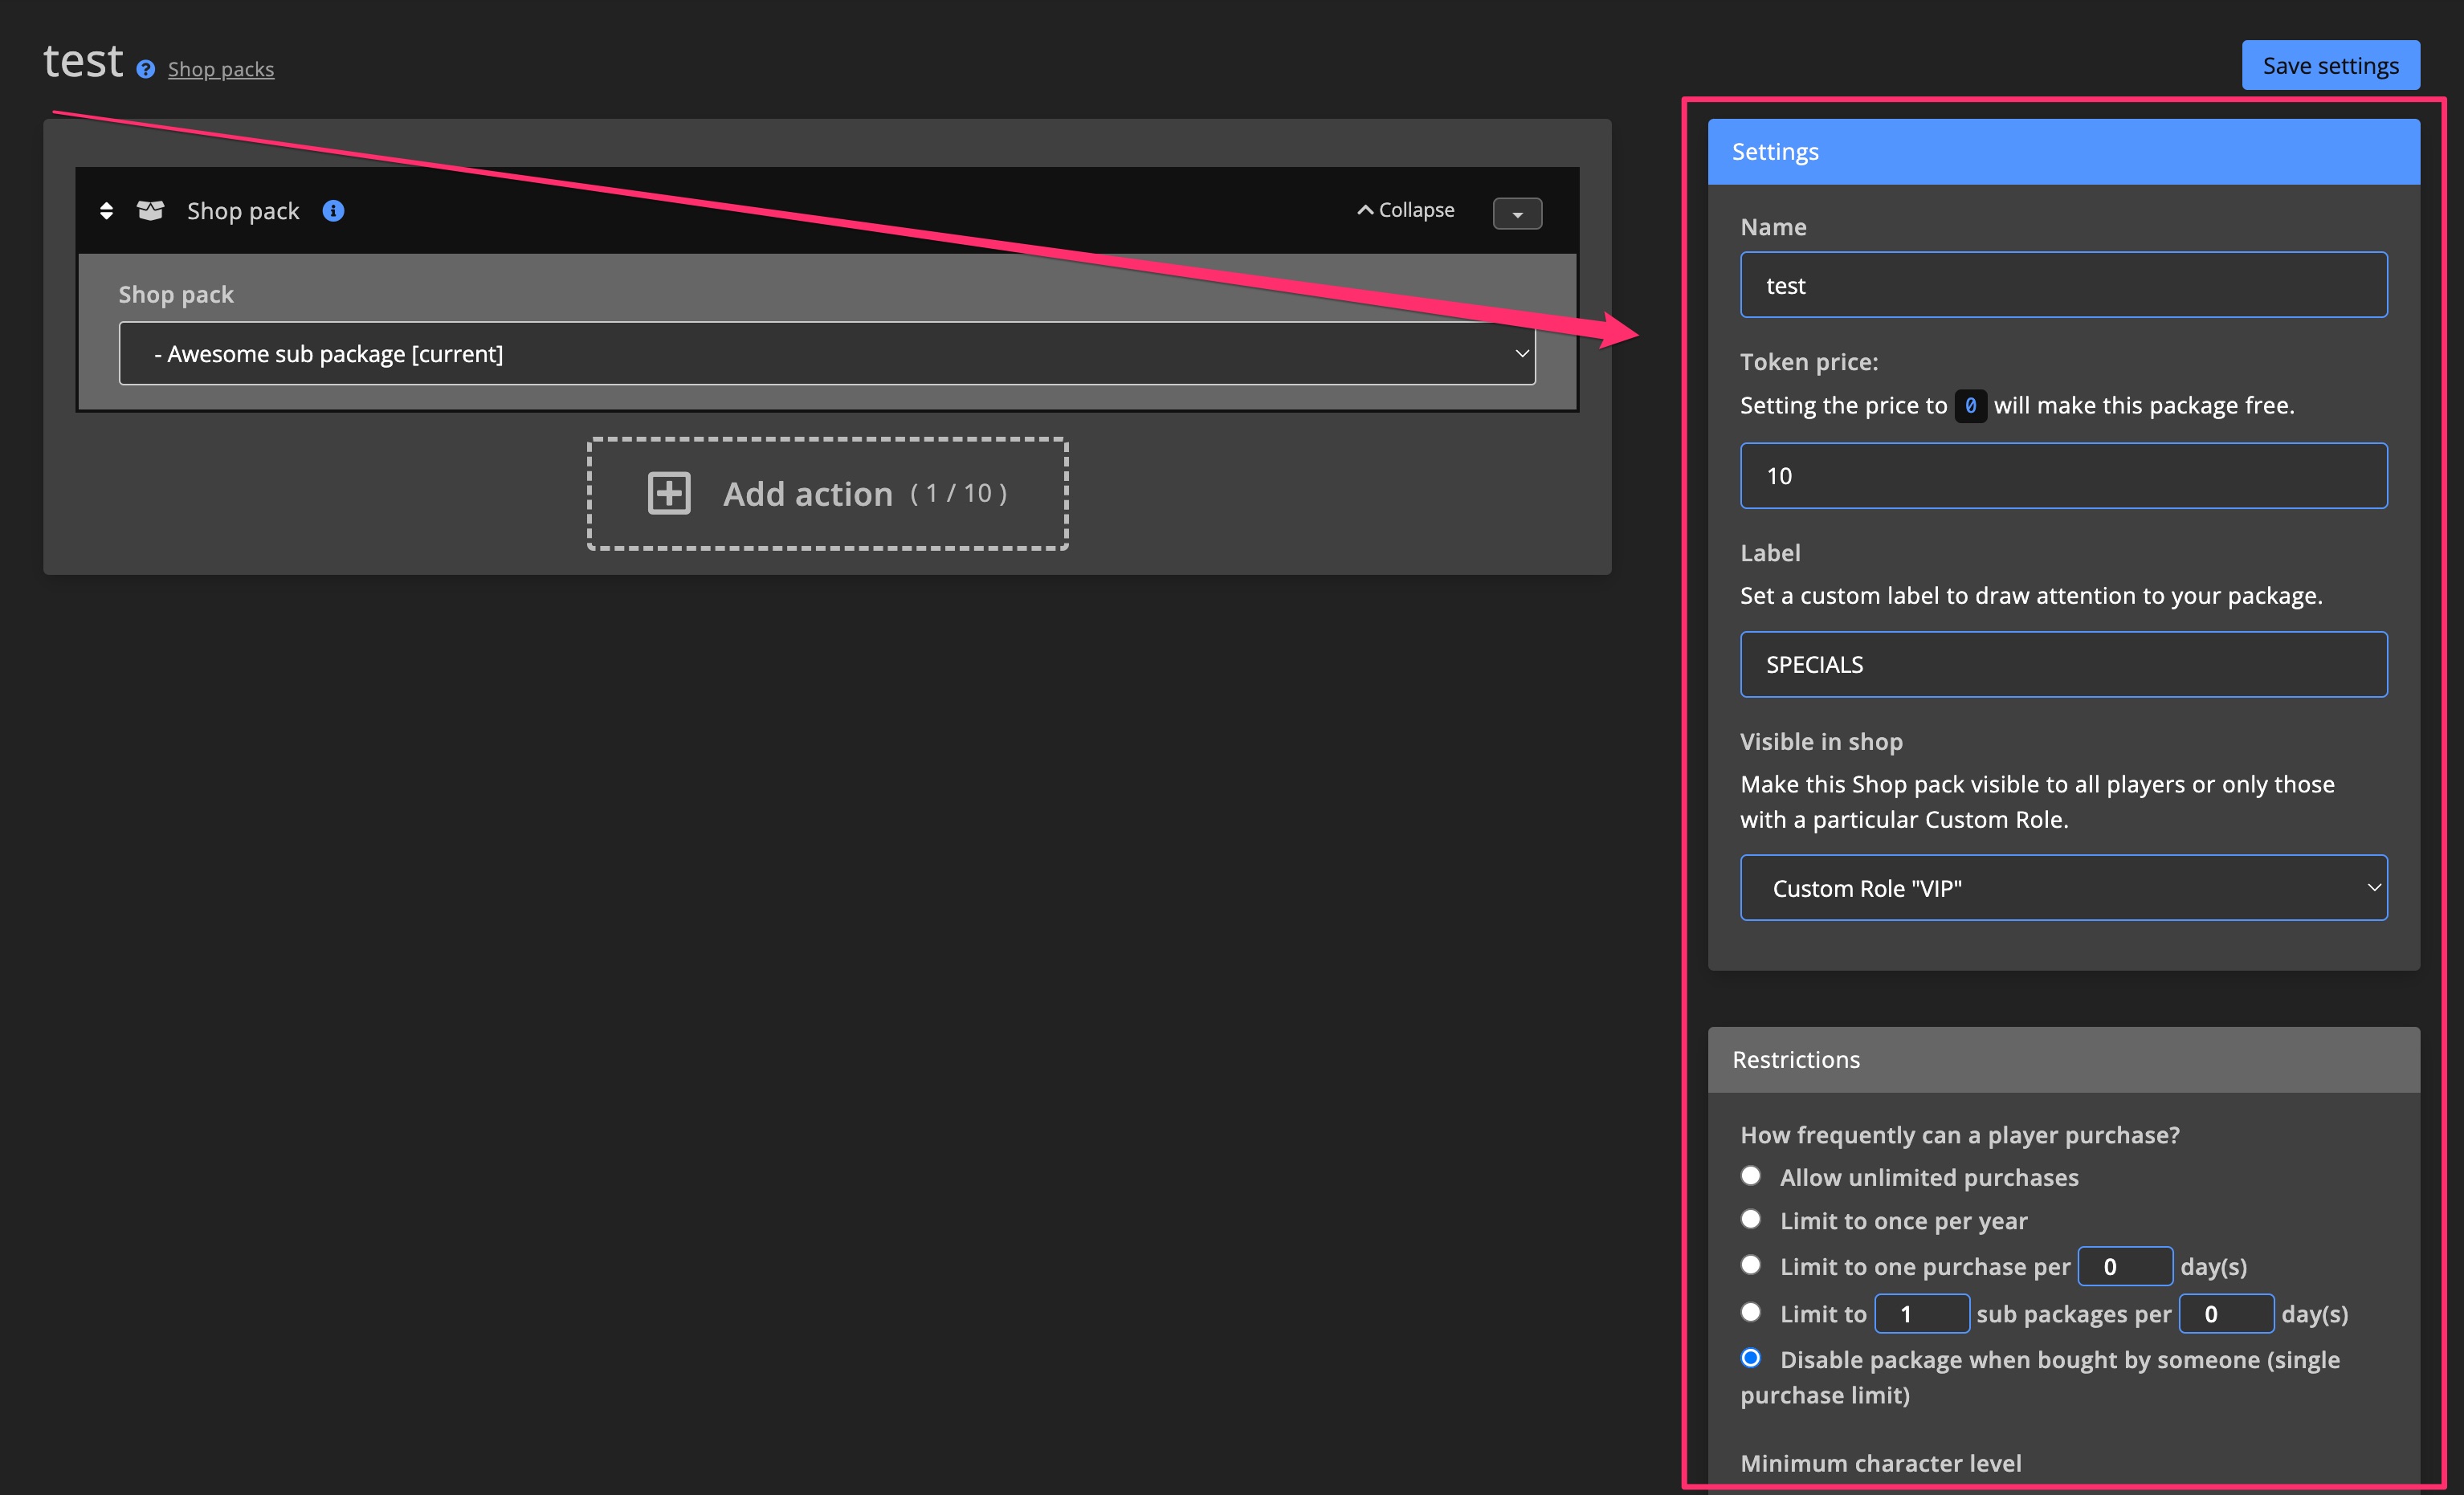
Shop Pack Settings
Pricing
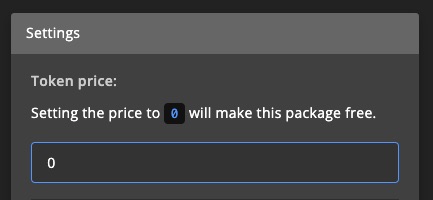
Set the token price for each Shop pack or sub-package.
Set the price to 0 to make the item free.
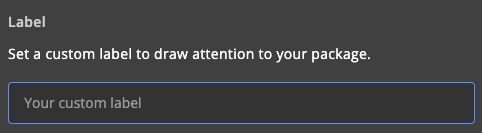
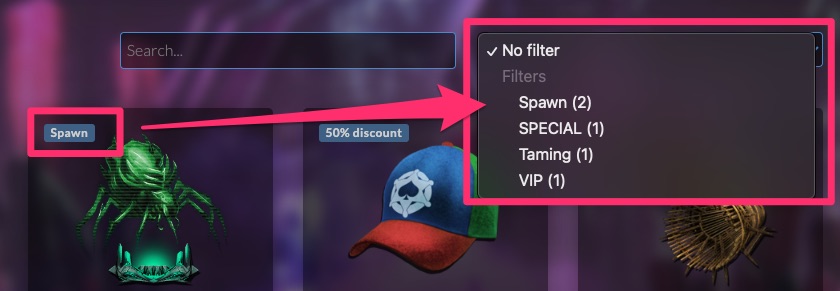
Labels / Filters
Labels help highlight items and act as shop filters.
Label Example:
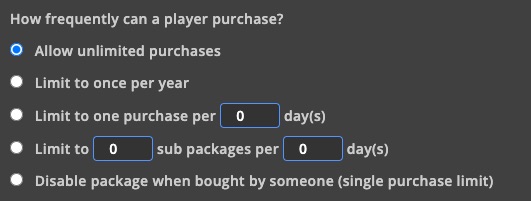
Purchase Limits
Control how often a Shop pack or sub-package can be purchased.
Options include:
- Unlimited purchases
- Once per year
- Once every [X] days
- Up to [X] sub-packages every [X] days
- Disable after one purchase (for all players)
Use Disable package when bought by someone (single purchase limit) to make the pack unavailable to everyone after it's bought.
How to reset purchase limits >
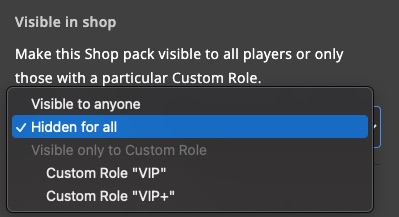
Visibility
Show or hide Shop packs for specific players. This is ideal for VIP-only items or admin/test items sent via manual delivery.
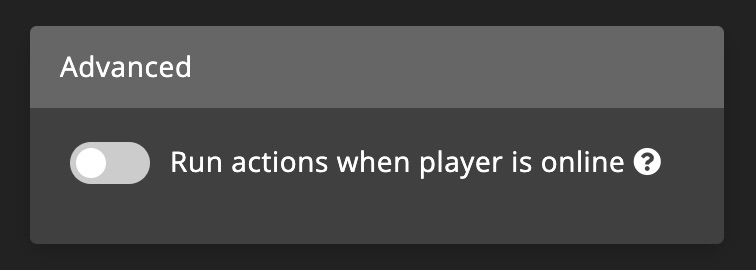
Offline Delivery
Enable offline delivery to run actions even if the buyer is not online.
This is useful for perks like whitelist access, where players must be whitelisted before they can join.
Most in-game commands require players to be online. Be sure to test thoroughly if enabling Support offline delivery.
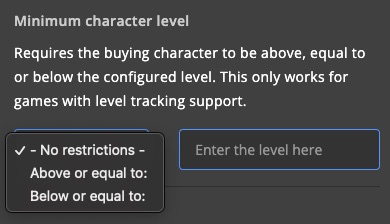
Character Level (Min/Max)
Limit who can buy the pack based on the buyer's character level. Ideal for beginner or high-level reward packs.
Delivery Restrictions
Target specific clusters or servers, or exclude some, based on where the Shop pack should be delivered.

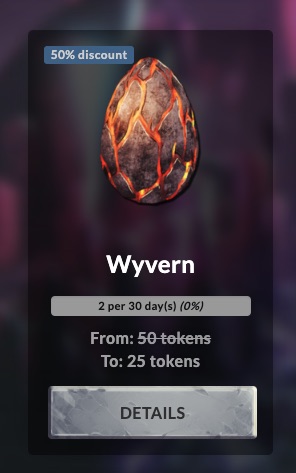
Images
Website Image
Set a thumbnail for how your pack appears in the Community shop.
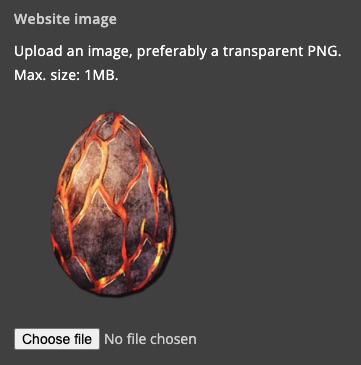
Example:
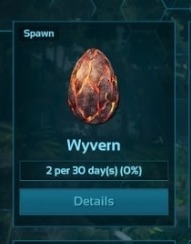
In-game Image
In-game images only work for games using the GSA Integration mod. You must reference in-game file paths, not uploads.

Example:
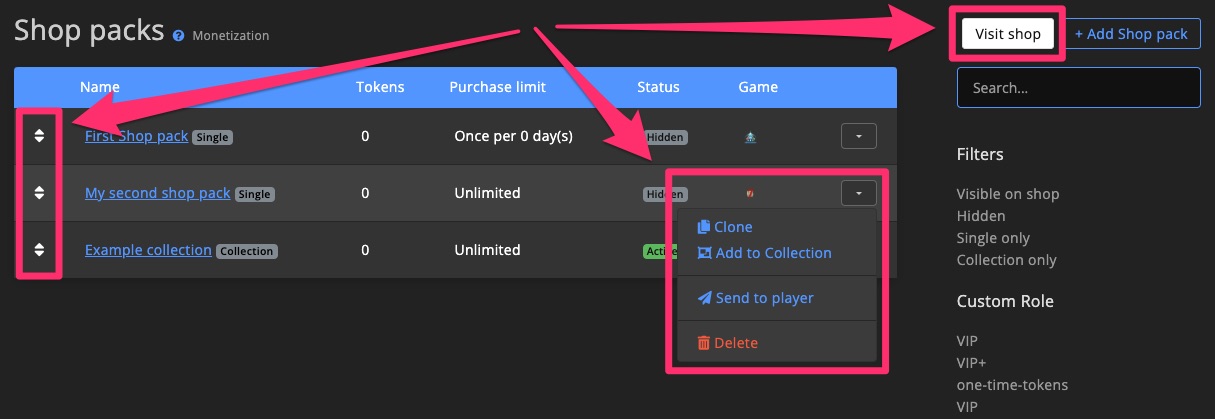
Manage Shop Packs
To reorder your Shop packs, drag the icon.
Use the menu to clone, delete, or send a Shop pack to a player.
Click Visit shop in the top-right corner to preview how your Shop packs look in the store.
Shop pack groups
Group your Shop packs to keep things organized, especially if you have many items.
You can assign Shop packs to groups or move them between groups.
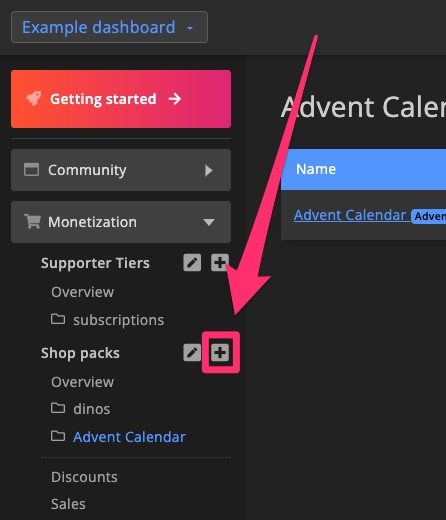
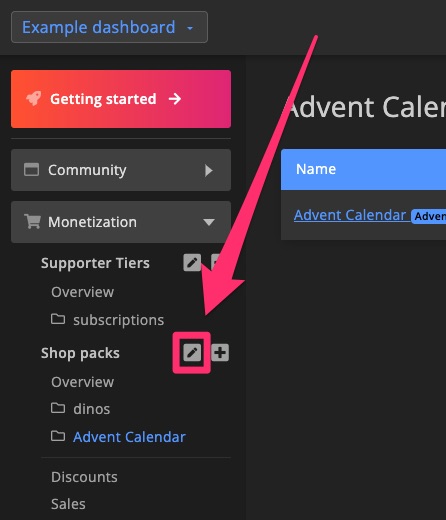
Create Shop pack group
Click next to "Shop packs" to create a new group.
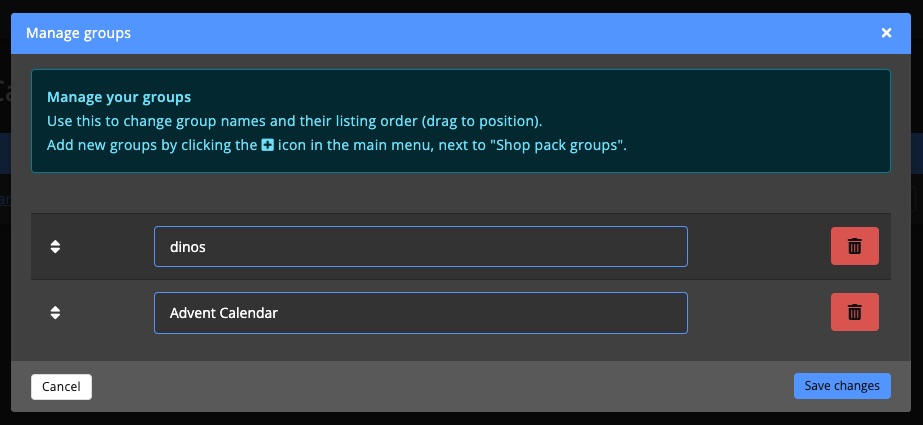
Manage groups
Click to rename, reorder, or delete your groups.
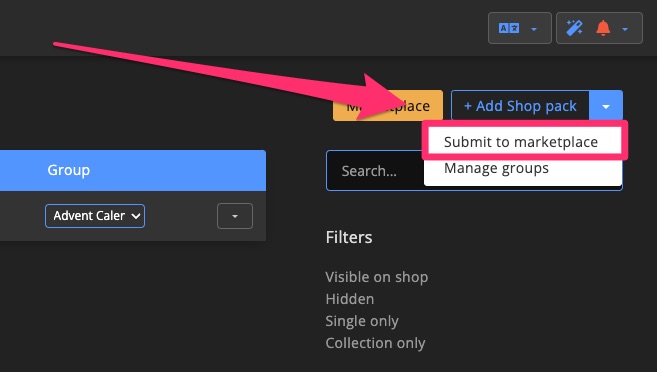
Submit to Marketplace
You can share your Shop pack groups with the GSA community by uploading them to the marketplace.
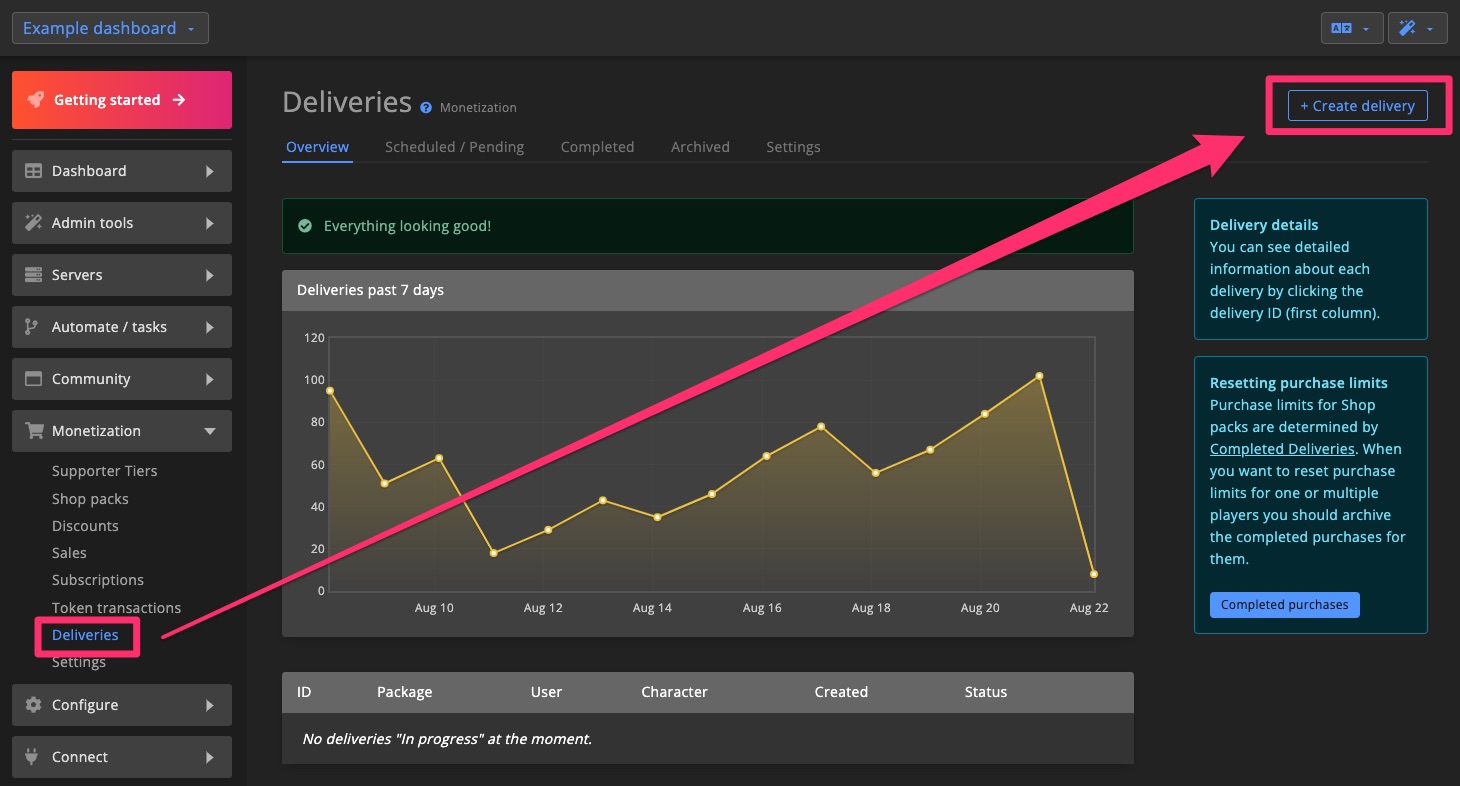
Deliveries
When players purchase Shop packs, the deliveries will appear on the Deliveries page.
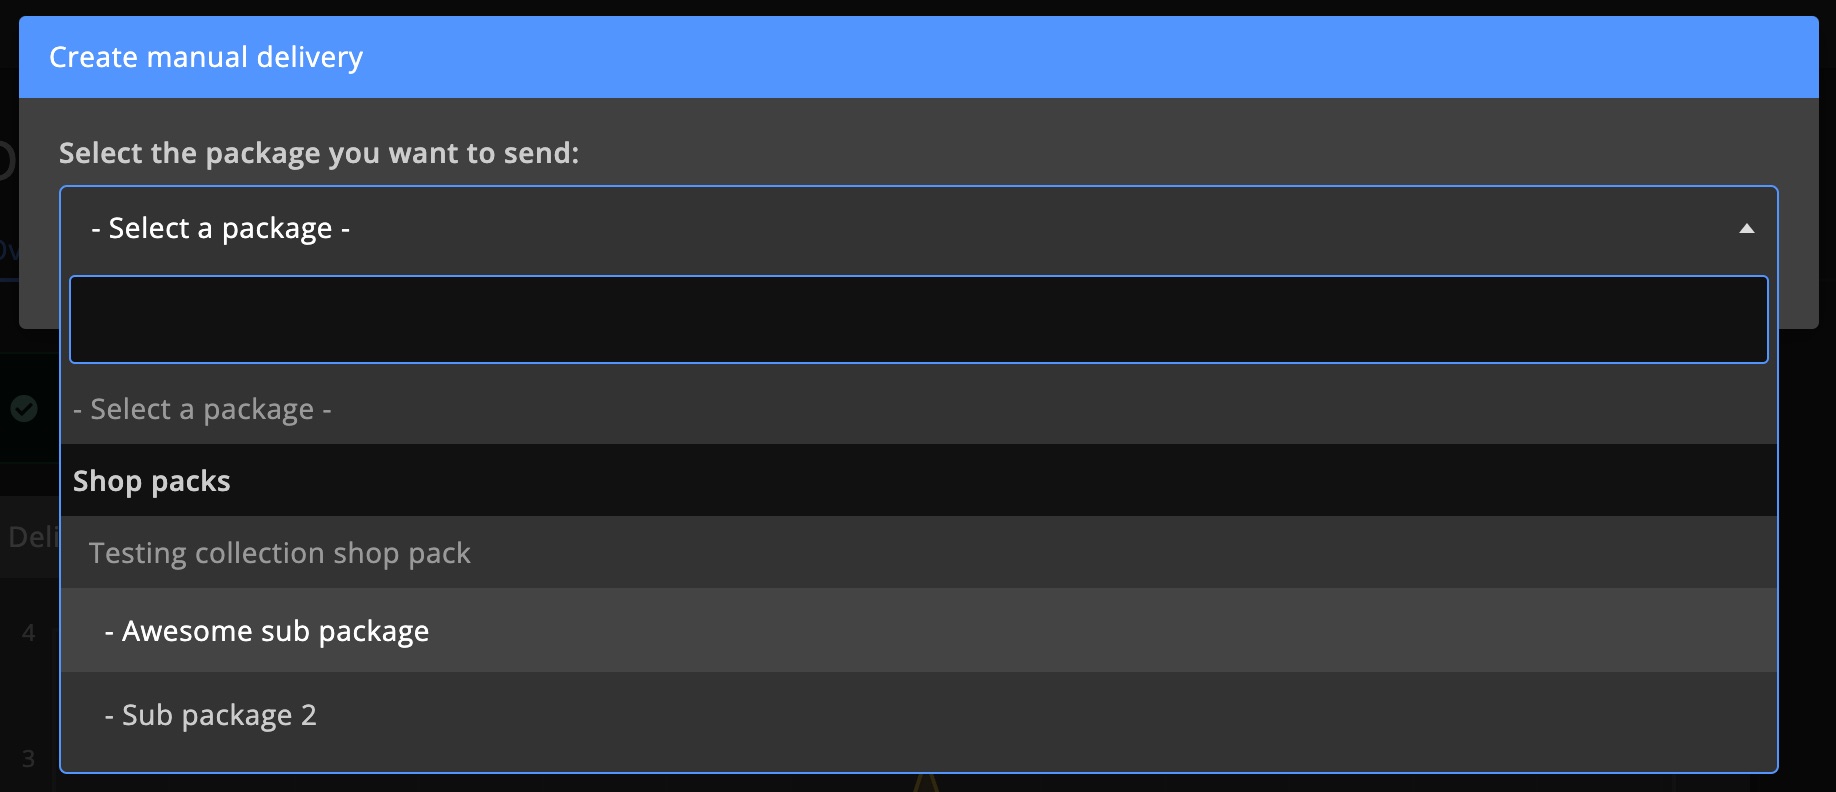
Manual Delivery
To test or manually send Shop packs to players, click + Create Delivery on the Deliveries page.
CSV tools
CSV tools let you export Shop packs, edit them using Excel or an AI tool, and re-import them to your dashboard.
The export includes nearly every Shop pack setting available on the dashboard.
CSV tools are only available on dashboards with any paid add-on.

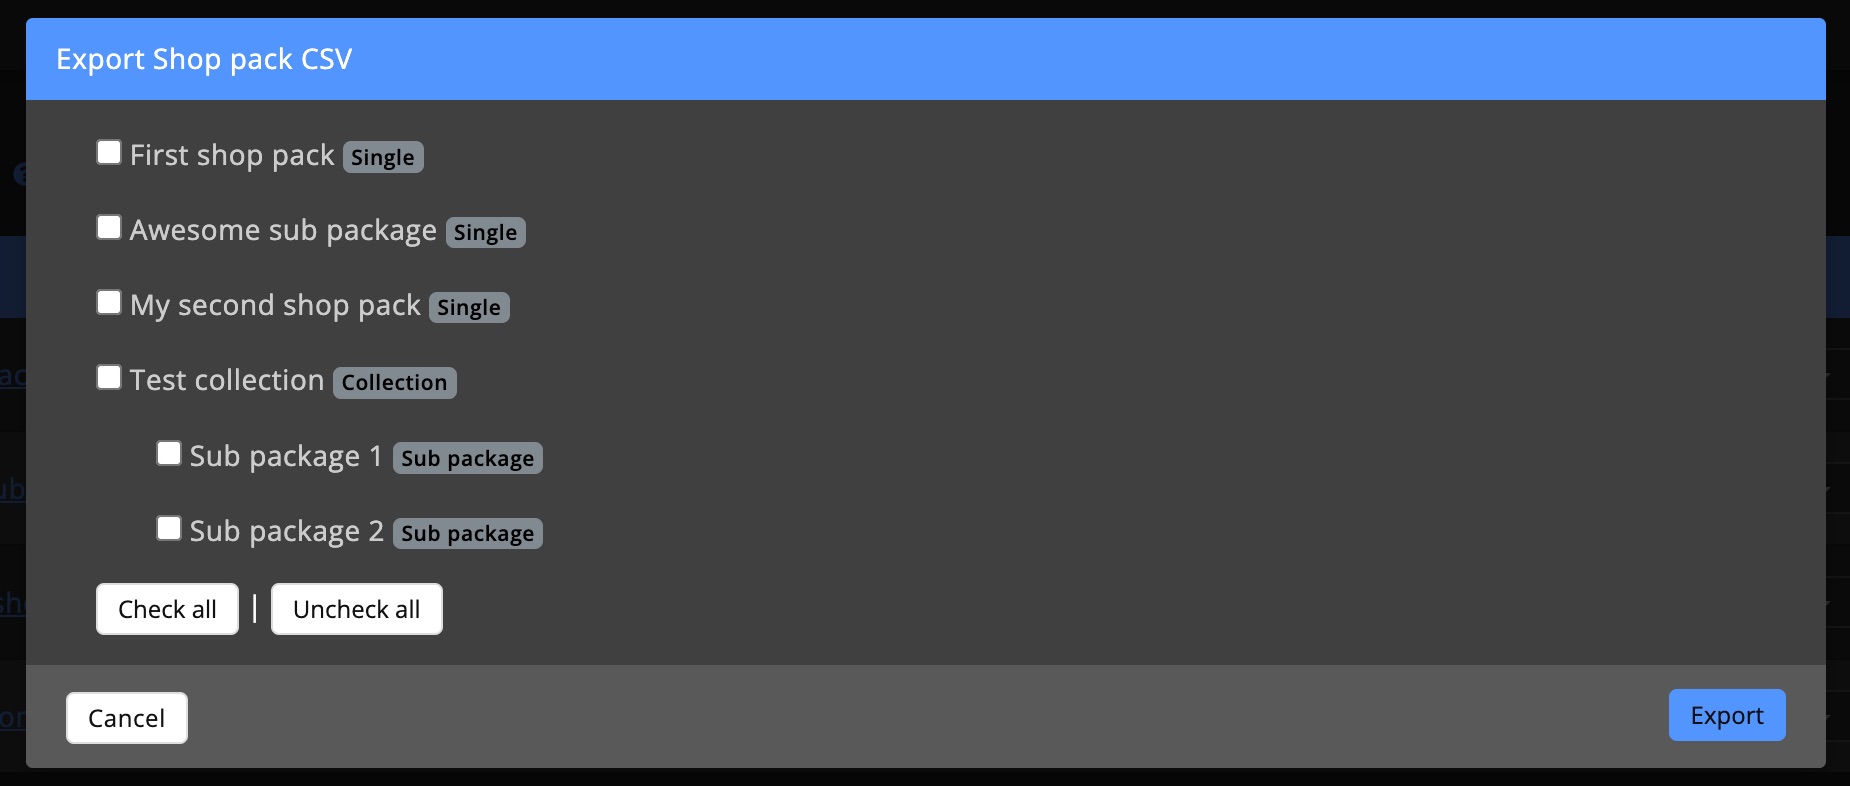
Export
Use the export tool to download one or more Shop packs (Single and Collection) to a CSV file. You can edit this file in Excel or with an AI tool.
To export, go to the Shop pack overview page and click the CSV export button in the top-right corner (see screenshot above).
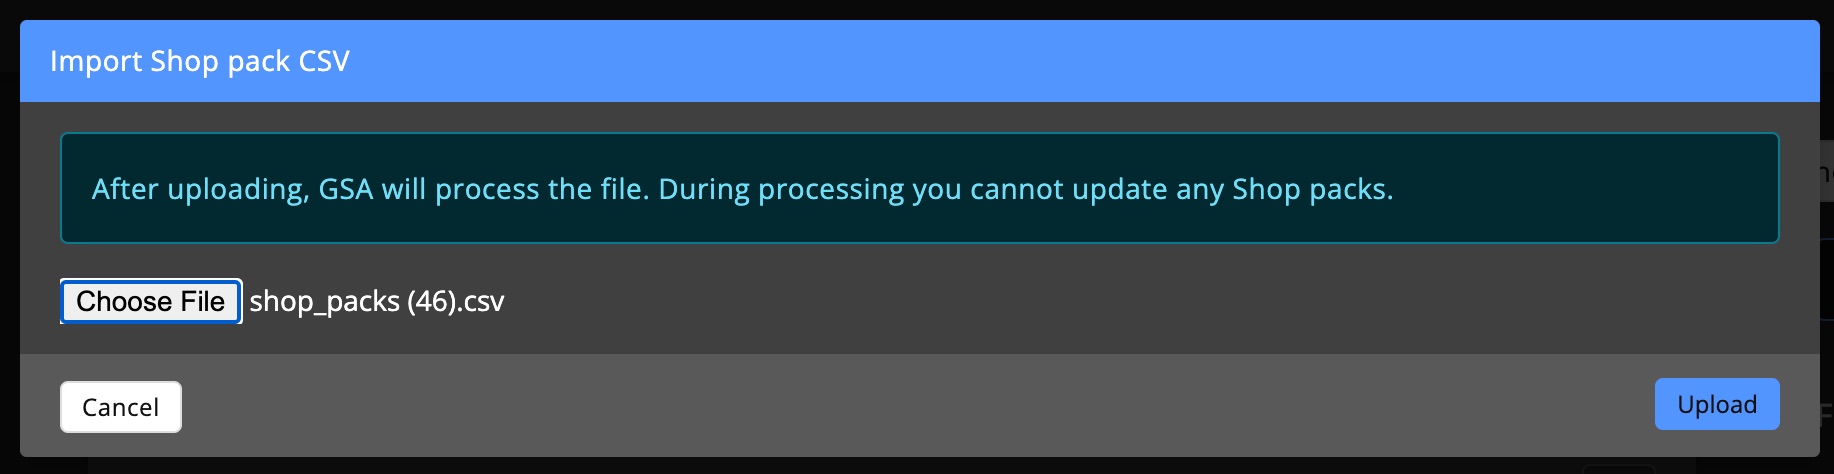
Import
After editing your CSV file, you can upload it again via the import tool. During the import process, Shop packs will be temporarily locked to prevent conflicting changes.
Find the CSV import button on the Shop pack overview page, in the top-right corner (see screenshot above).
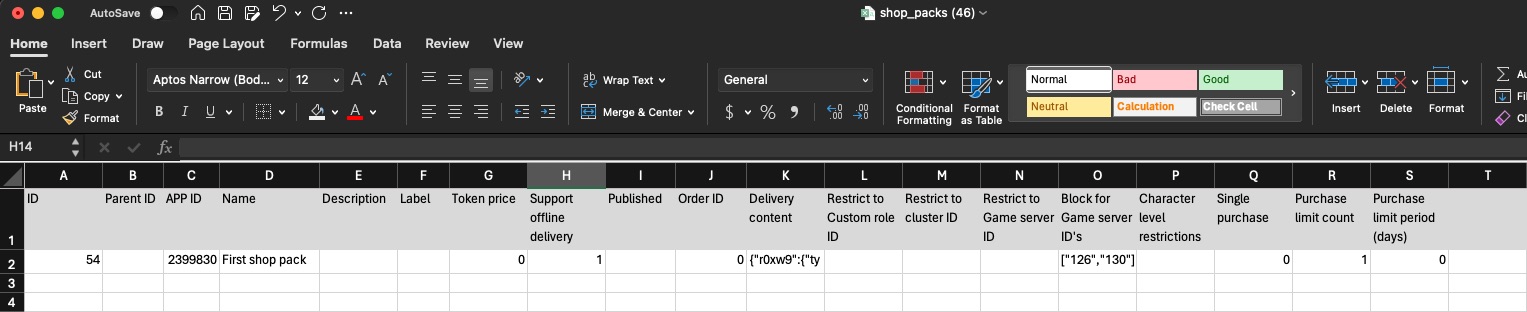
CSV file details
Here’s an overview of a typical CSV export. You’ll find explanations for each column below.
ID
Update existing items
Enter a number in the ID field to update an existing Shop pack. This number refers to the pack's current ID and is automatically included during export.
Create new items
Leave the ID field empty to create a new Shop pack. You don’t need to manually assign an ID.
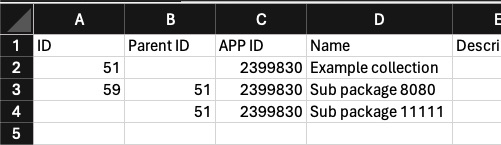
Parent ID
Use the Parent ID column to assign sub-items to a Collection. The value should match the ID of the main item.
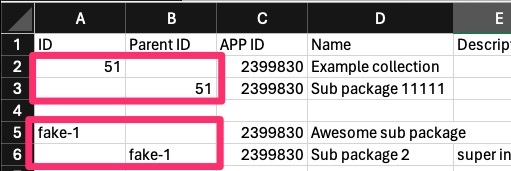
To add new sub-items to an existing Collection, enter the Collection’s ID in this field for the sub-items (see the top example in the screenshot below).
If you're creating a new Collection and its sub-items, use a "fake ID" (e.g., fake-123) to link them. These are temporary and only used during import (see the bottom example in the screenshot below).
"Fake IDs" are discarded after import. In future imports, use the actual ID created after the original import.
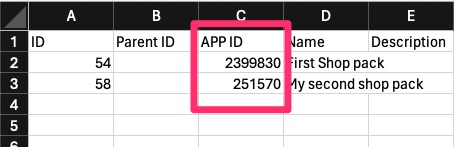
APP ID
The APP ID identifies which game the Shop pack is for. Use a STEAM ID or another supported game ID. When exporting a pack, the correct ID for that game will appear automatically.
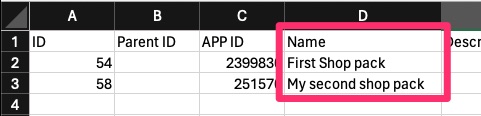
Name
Enter the Shop pack name in the Name column. The name must be at least 3 characters long.
Description
Requirements depend on the type of Shop pack:
Single
Supports Markdown formatting.
Collection
For the parent item, only plain text is allowed and limited to 245 characters.
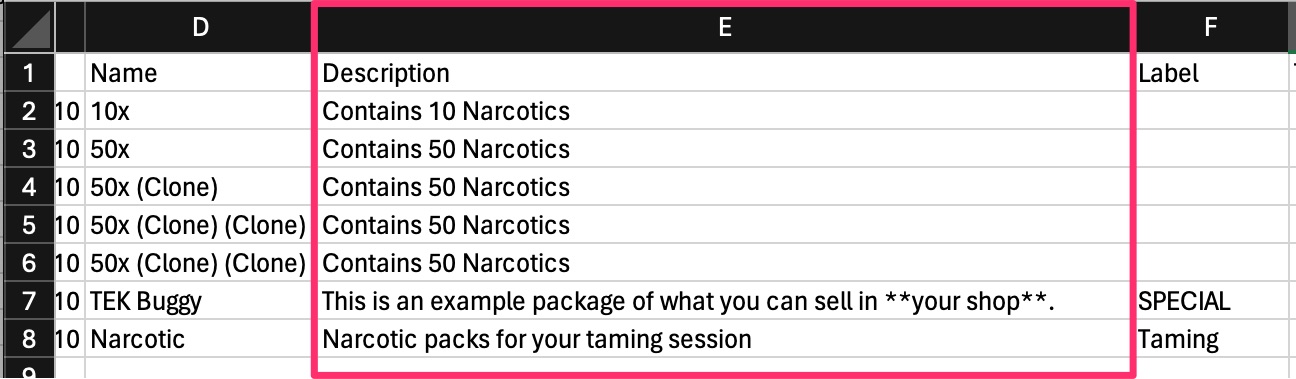
Label
The Label field is an optional field for assigning a label used for filtering in the Shop. Only one label is allowed, with a max length of 25 characters.
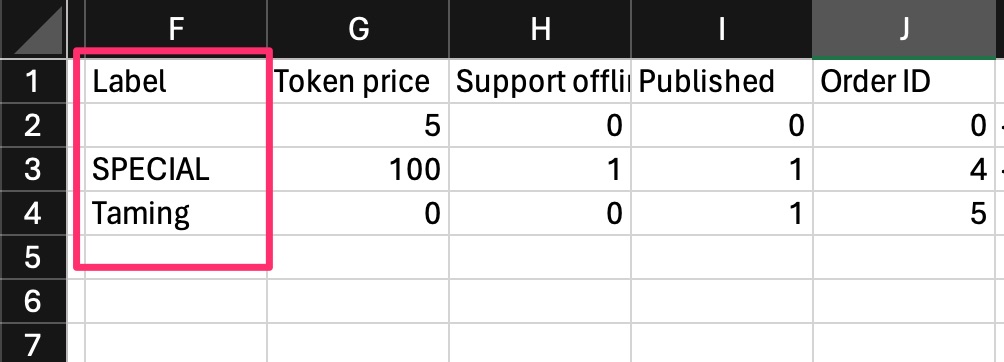
Token price
Set the token price for the Shop pack. Use 0 for free packs. Only values above or equal to 0 are accepted.

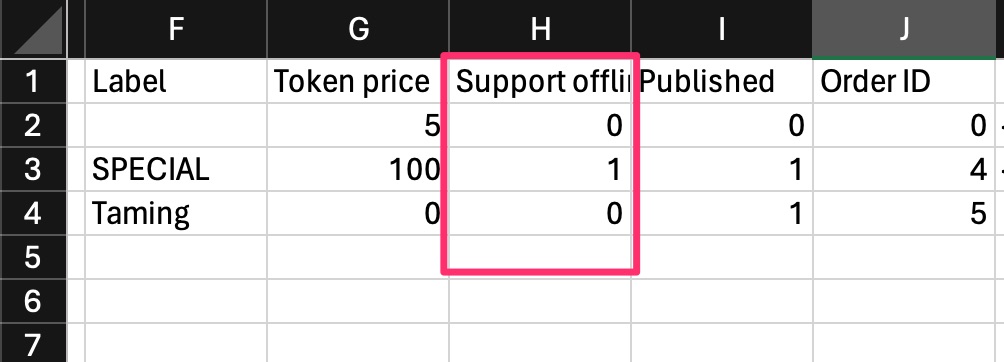
Support offline delivery
Controls whether the pack should be delivered when the player is offline.
0 = No
1 = Yes
Published
Controls the visibility of the Shop pack.
0 = Hidden
1 = Visible

Order ID
Sets the order in which Shop packs appear. Lower numbers show first.
E.g., 0 appears first, 9999 appears last. Also applies to the order of sub-items in a Collection.

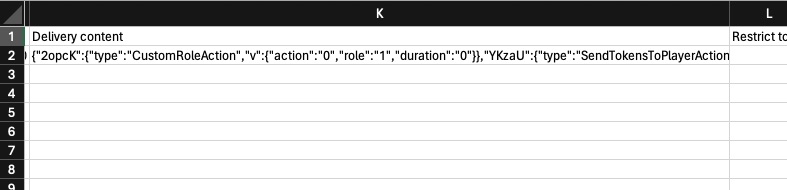
Delivery Content
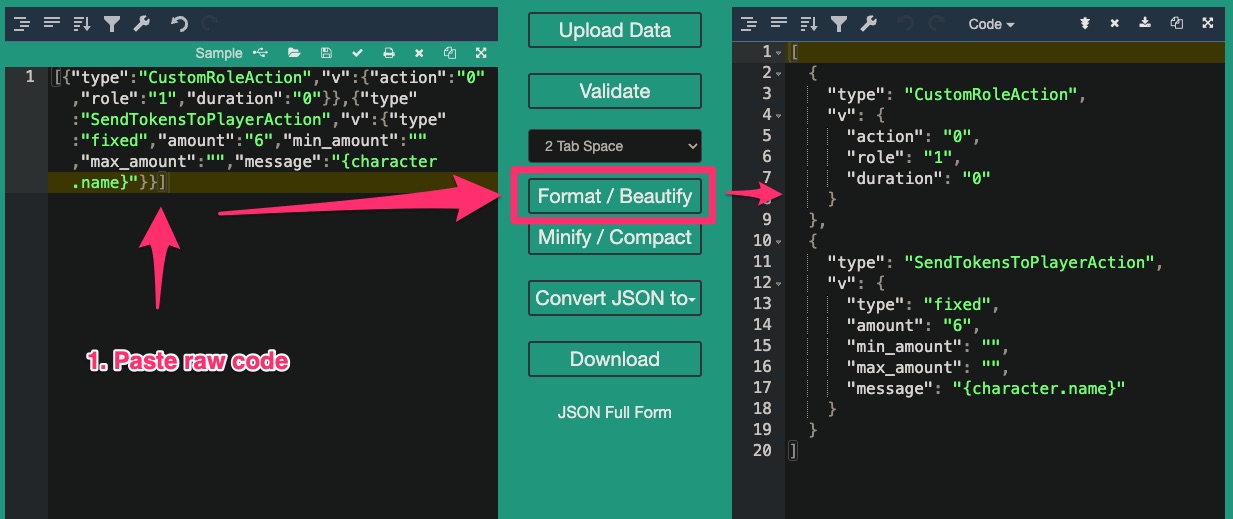
Defines what the Shop pack does upon delivery. This field uses JSON format and must be accurate to prevent errors.
Use a JSON beautifier to format the content for easier editing. Before import, make sure to use minified JSON.
A good approach is to configure the actions via the dashboard, export the file, and modify the existing JSON from there.
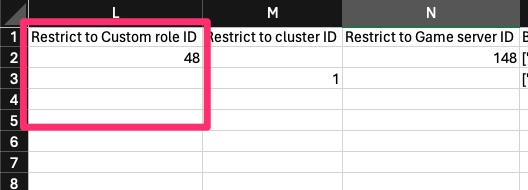
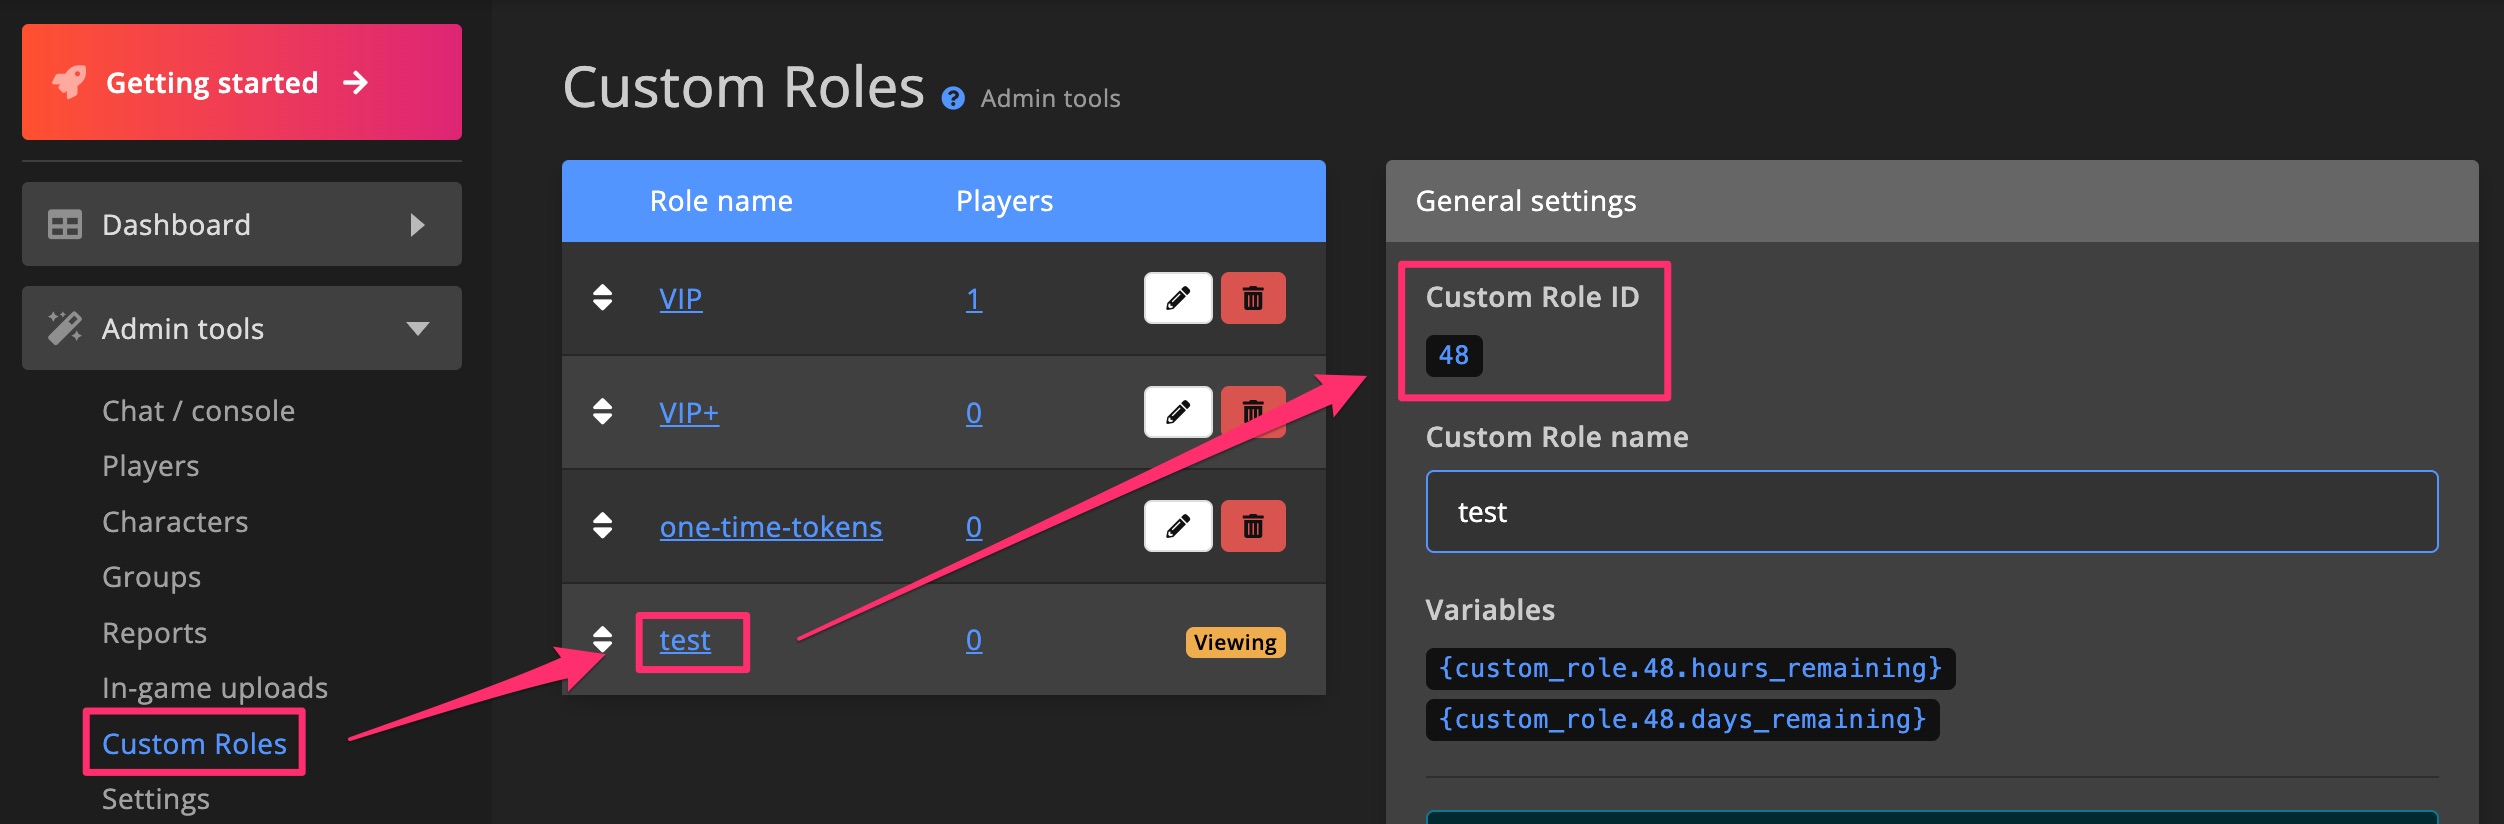
Restrict to Custom Role ID
Use this column to restrict the Shop pack to players with a specific Custom Role.
You can find the role ID on the Custom Role page.
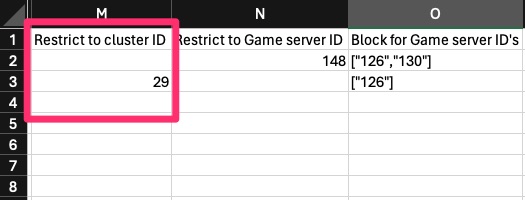
Restrict to Cluster ID
Limits the Shop pack to players with a character in a specific cluster. Leave blank for no restriction.
Enter only one Internal Cluster ID, which can be found on the Cluster page.
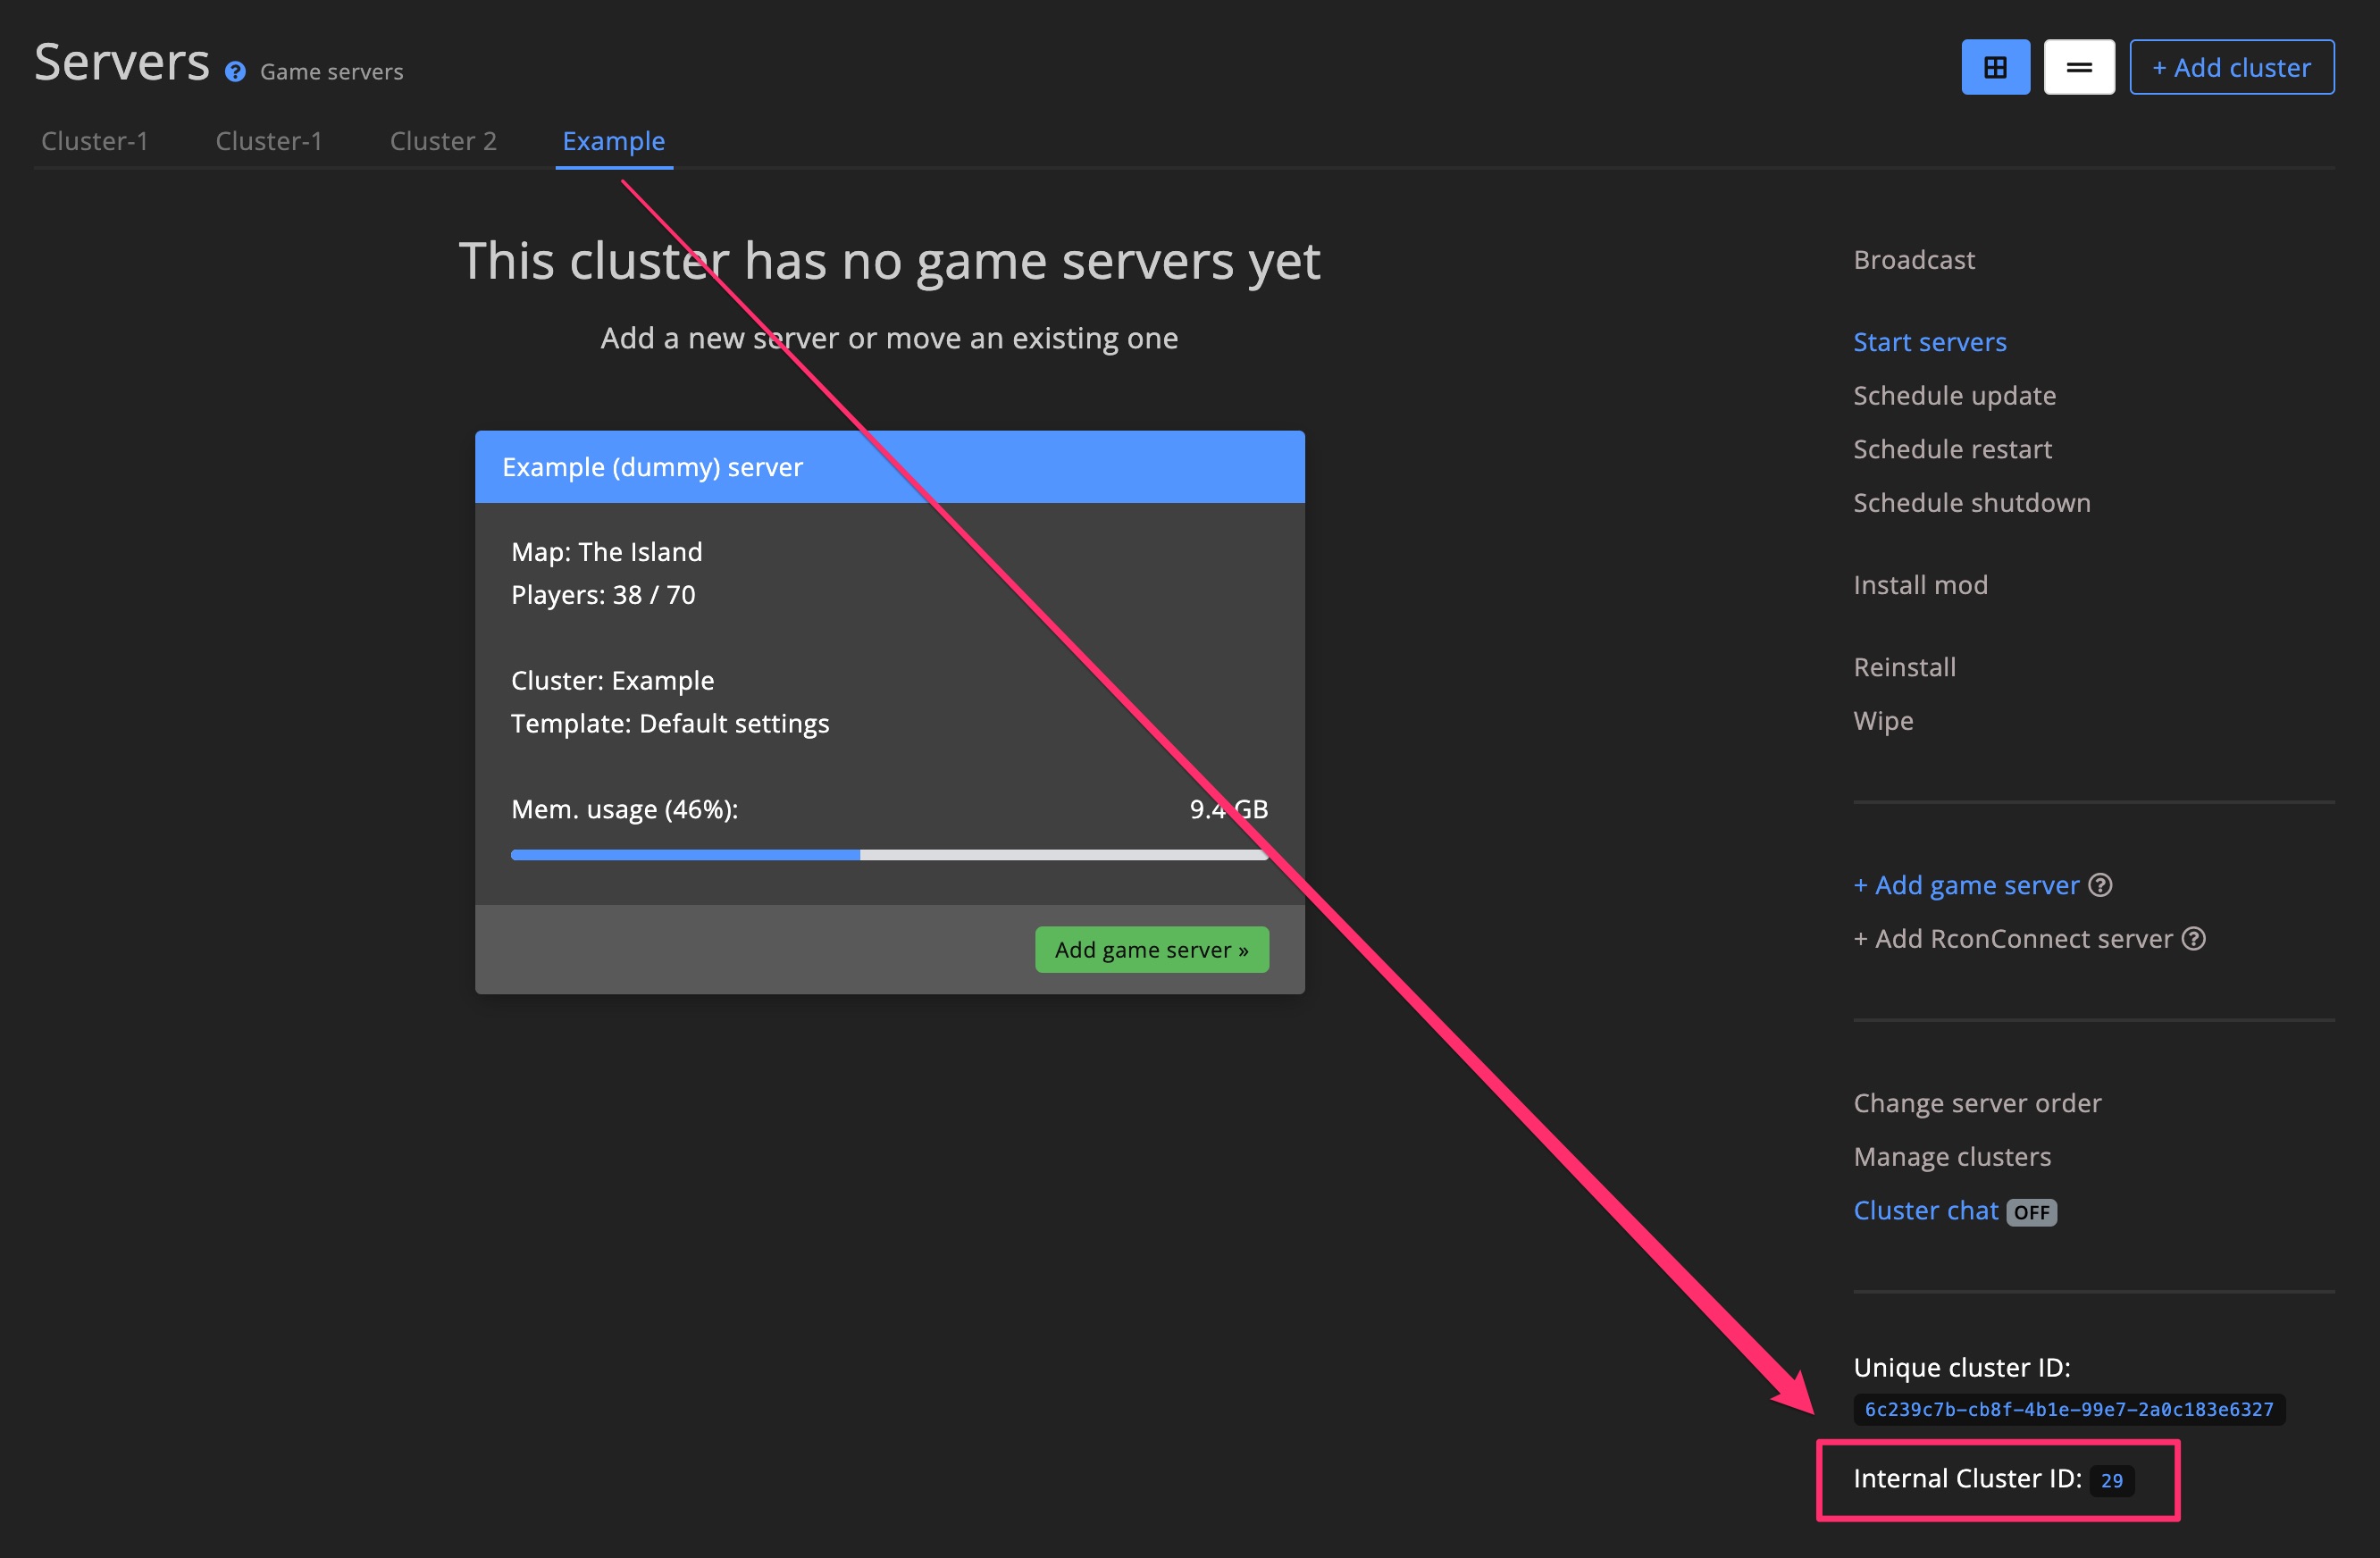
Restrict to Game server ID
Limits the Shop pack to players on a specific game server. Leave blank for no restriction, this field is limited to one ID.
Enter only one numeric Game server ID, which you can find on the Game server settings page.
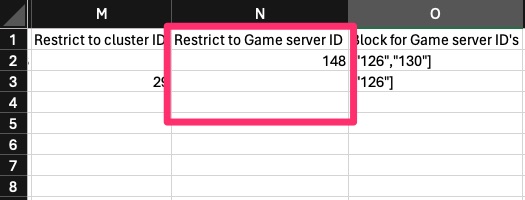

Block for Game server ID's
Prevents a Shop pack from being ordered from specific game servers.
When the column is left empty, it means there are no restrictions, and the Shop pack can be ordered from any server (unless you are using one of the above "restrict" options).
If you want to specify one or more game servers, you need to use JSON format. See the examples below:
Use JSON format:
With three IDs: ["123", "456", "789"]
With one ID: ["123"]
Refer to the Restrict to Game server ID section for how to find Game server IDs.
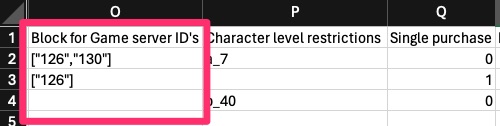
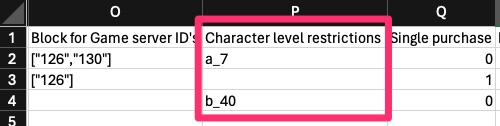
Character level restrictions
Use this column to restrict purchases based on the player's in-game level.
Above
Format: a_<level>
Examples: a_1, a_25, a_123
Below
Format: b_<level>
Examples: b_1, b_25, b_123
Leave the field blank to allow all levels.
Single purchase
Enter 1 to make the Shop pack purchasable only once by a single player. After that, it will be removed from the shop.
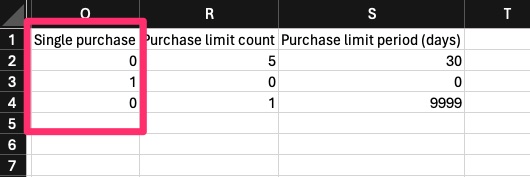
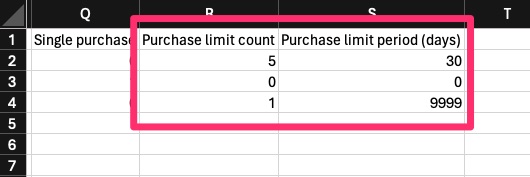
Purchase limit (count & days)
Set limits on how often a Shop pack can be purchased.
Purchase limit count
The total number of times a player can buy the pack.
Purchase limit period (days)
The time window in days for that purchase count.
For example: 5 purchases within 30 days = max 5 times in a 30-day window.